Nerdio
What ist Nerdio?
Nerdio is a platform designed to simplifies work with Azure Virtual Desktop (AVD) and Windows 365. It optimizes management, ensures efficient operations, and lowers Azure costs through automation.
MSPs can quickly deliver successful Microsoft Azure cloud services using Nerdio Manager for MSP.
Nerdio Manager for Enterprise is a cloud-based management platform designed to complements Azure Virtual Desktop (AVD) and Windows 365 services by providing a centralized console for deployment, management, and optimization. Nerdio doesn’t replace Microsoft’s native components, but enhances them with simple automations for AVD abd Windows 365 deployment, minimizes costs, and streamlines operations.
How to get startet with Nerdio
Installation
- Open the Azure portal under https://portal.azure.com.
- Click on the main search bar at the top and type in "Nerdio".
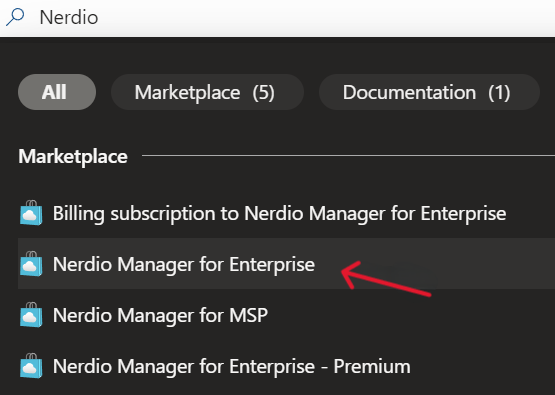
- Now you select the Option "Nerdio Manager for Enterprise" under the "Marketplace" section.
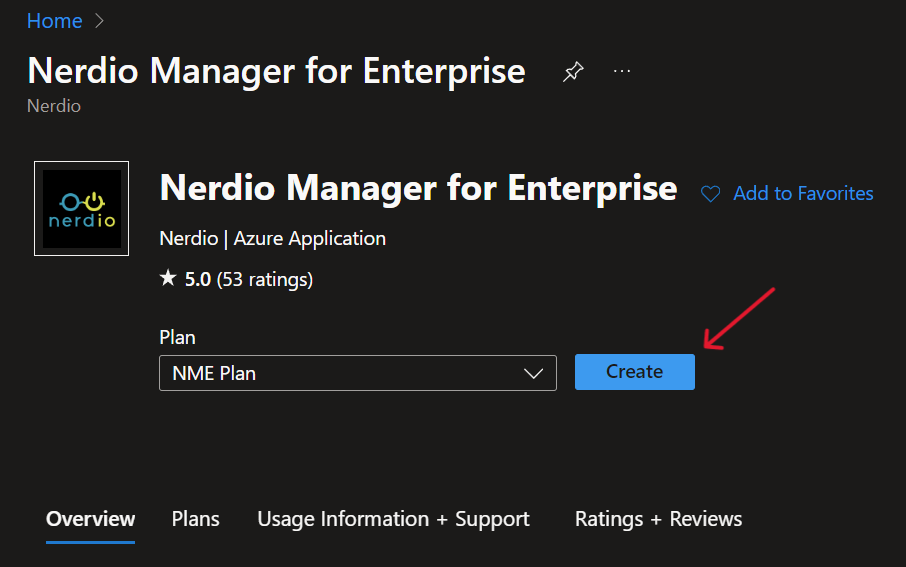
- In the Marketplace Screen there are no settings to adjust, so you can just click "Create".
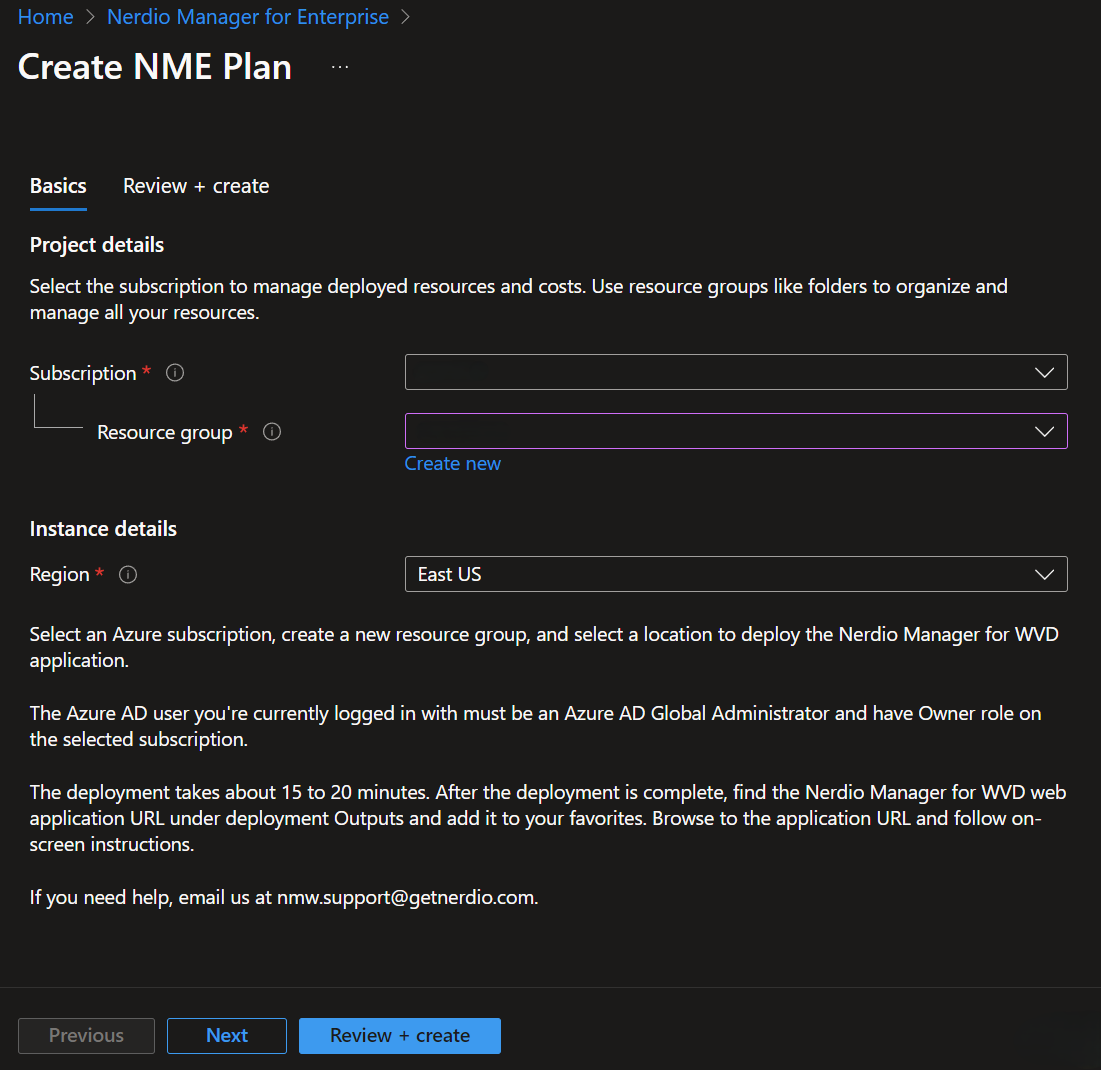
- Next the from Azure familiar Settings appear and you can select your subscriptionm, resource group and region of choice.
- Then click "Next"
- Now the name and prefered e-mail address will be prepopulated for you. The prefered phone number is optional.
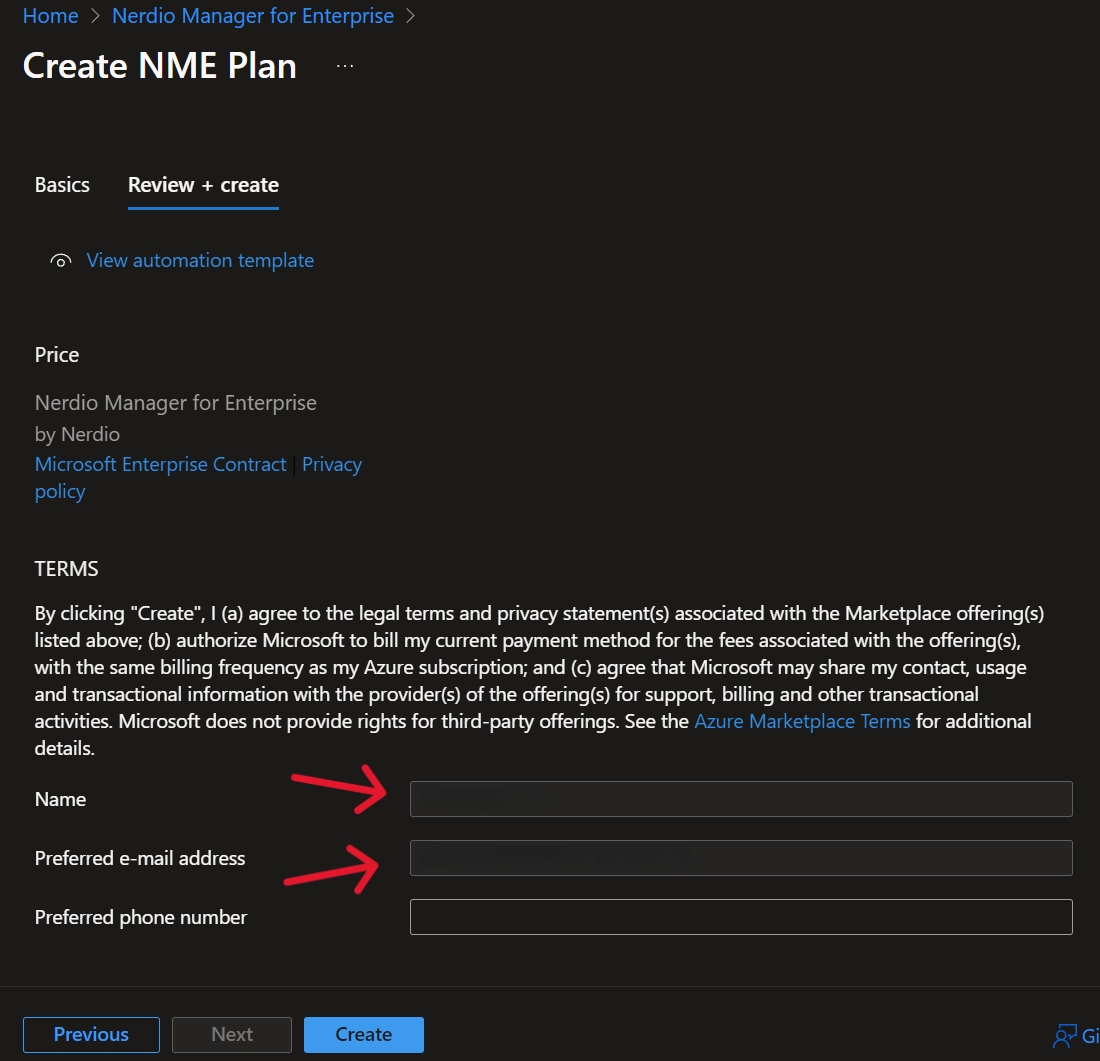
- Now click "Create" and Nerdio Manager for Enterprise will be deployed. It takes around 5 minutes.
Configure Nerdio
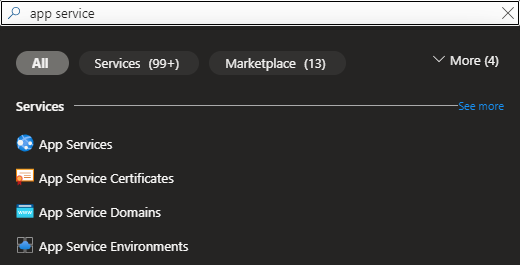
Open the Azure portal under https://portal.azure.com again and enter "app service" in the top search bar.
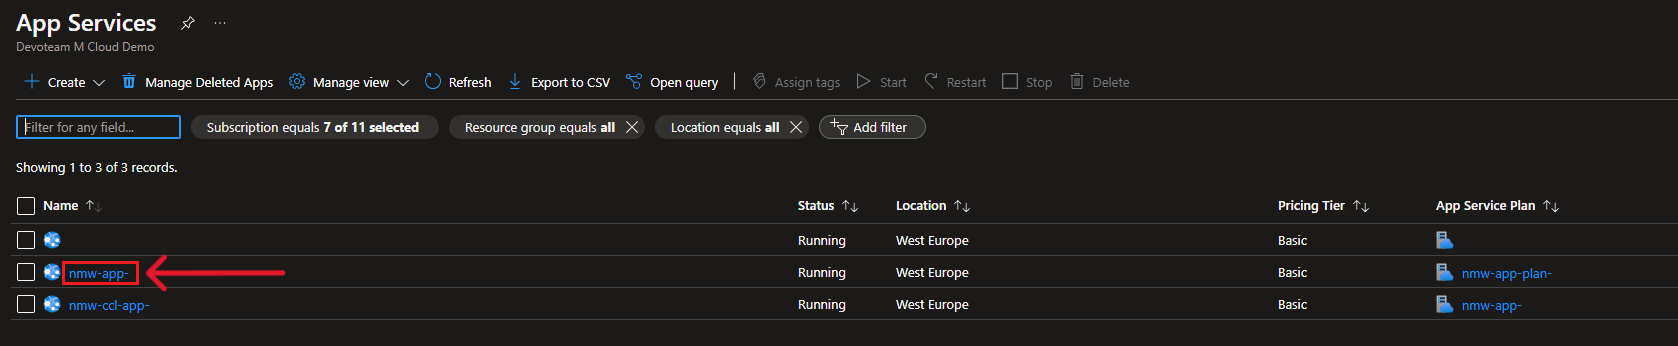
Now open "App Service" and select the app that begins with "nmw-app-".
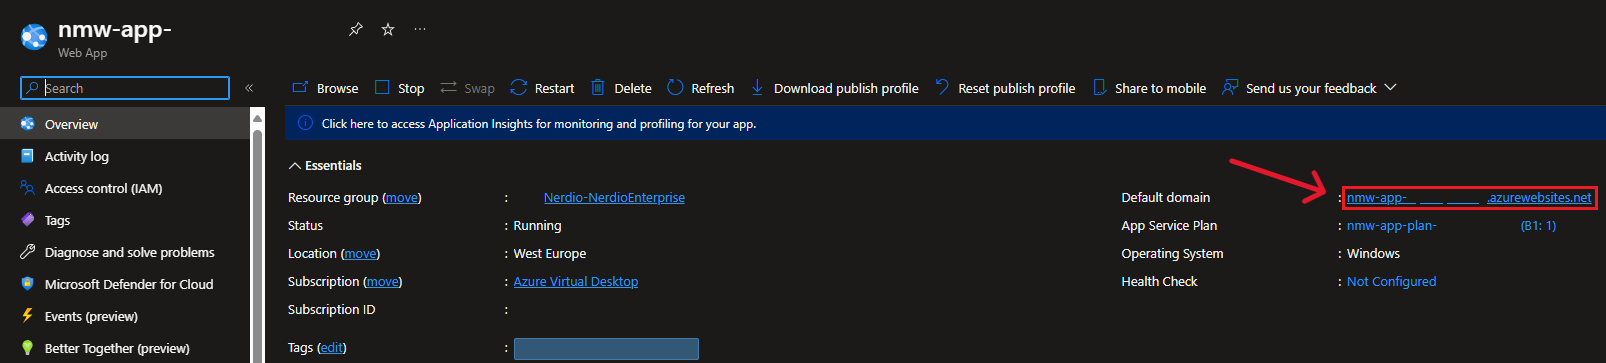
On the right side you find an option saying "Default Domain".
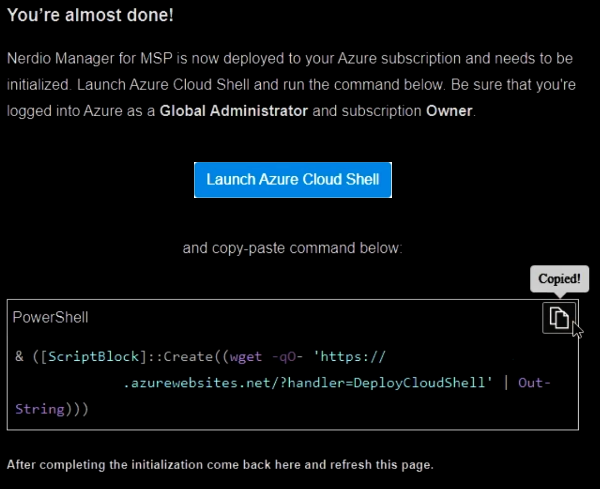
When open this Wepsite you will be greated by a Nerdio Screen wanting you to execute a script.
Copy the Script, open your cloud shell and execute the script
When you now go back to the Default Domain Website, you find a Nerdio Screen, where you can configure your installation and register your Installation with Nerdio.
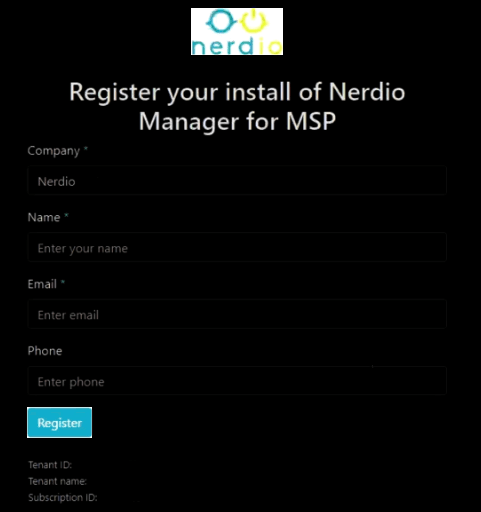

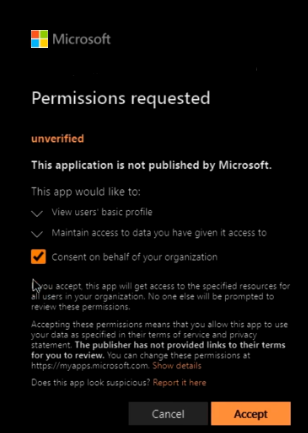
- When you click "Done" at the end, Nerdio will try to register the needed permissions and you need to click 'accept'.
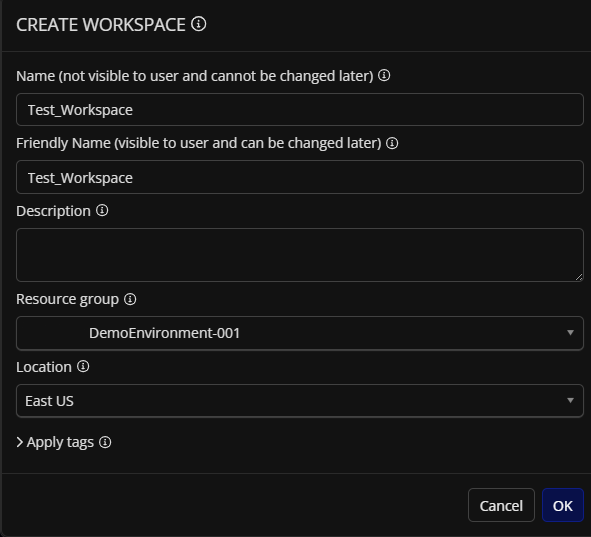
Create Workspace
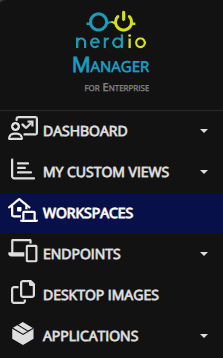
- To create a Workspace, open your Nerdio Dashboard and click on 'Workspaces'.
- And then "Add Workspace" on the right side.
- Now you can enter the name, Location and other needed Info about the Workspace and then click 'OK'.
Creating Host Pool
- To create a Hostpool, open your Nerdio Dashboard and click on 'Workspaces' then select the workplace you want to create a Hostpool for.
- Now you can create a dynamic Hostpool with the coresponding button.
INFO
You have also the possibility to create a 'static Hostpool', but it is not recommended.
A static Hostpool can`t use automatic scaling.
But you can convert a static Hostpool to a dynamic one.
- In the Popup Windows you can add all needed parameter for the Hostpool, add the ressource group the hosts will be created in, can add tags or apps.
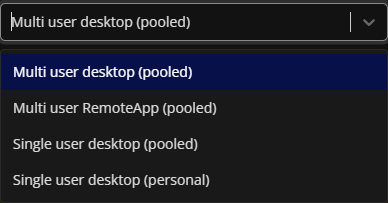
- Your most important decision can be found directly after you enter the name and description. Under 'Desktop Experience' you can decide if you want to create a 'Single user', 'Multi user', 'Remote App', 'Pooled' or 'Personal' Hostpool.
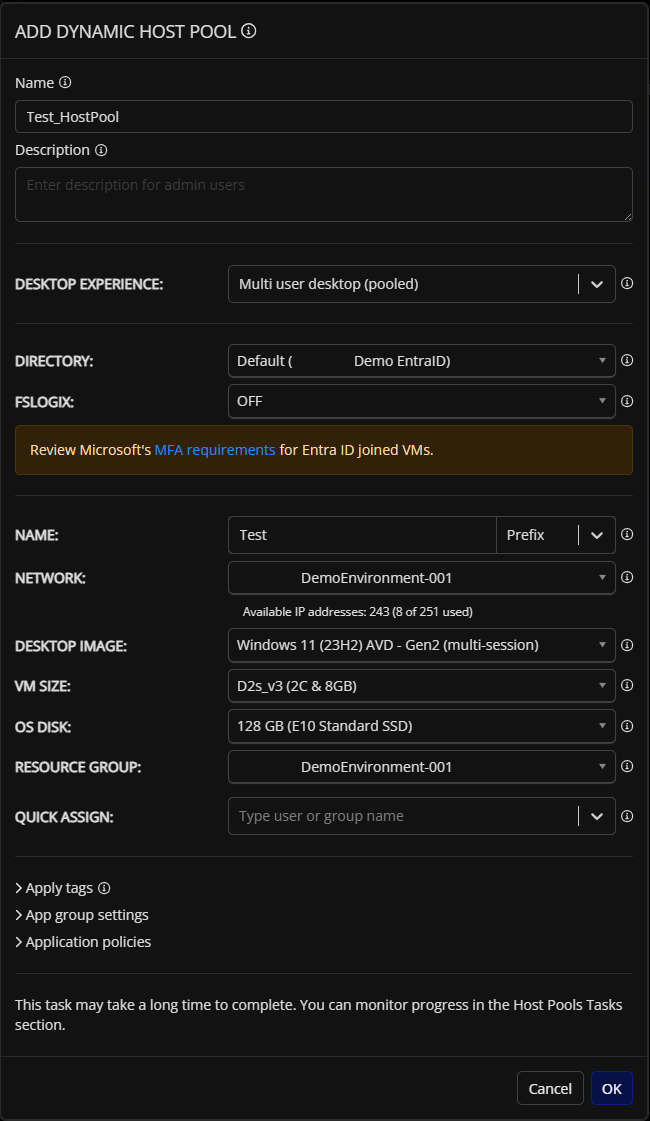
- Now you can click "OK" and wait until the Hostpool is created.
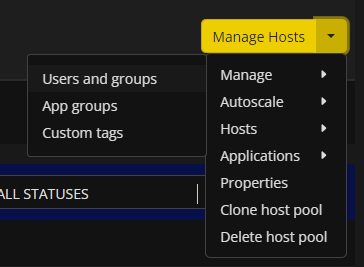
- After the Hostpool is created, you can assign the Hostpool to the user you want to use it for. For that, open the drop-down-menu next to 'Manage Hosts', select 'Manage -> Users and groups'.
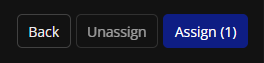
- Here now just select the users or groups you want and click the 'Assign' button.
Creating your first virtual Machine
- To create a virtual mashine (VM), open your Nerdio Dashboard and click on 'Workspaces' then select the workspace and the Hostpool you want to create a VM for.
- By clicking on 'Add session host' the coresponding pop-up Window opens.

- Here you can enter the count of VMs, name, description, network, image, size, disc, resource group and tags. All the parameters selected when creating the host pool are pre selected.
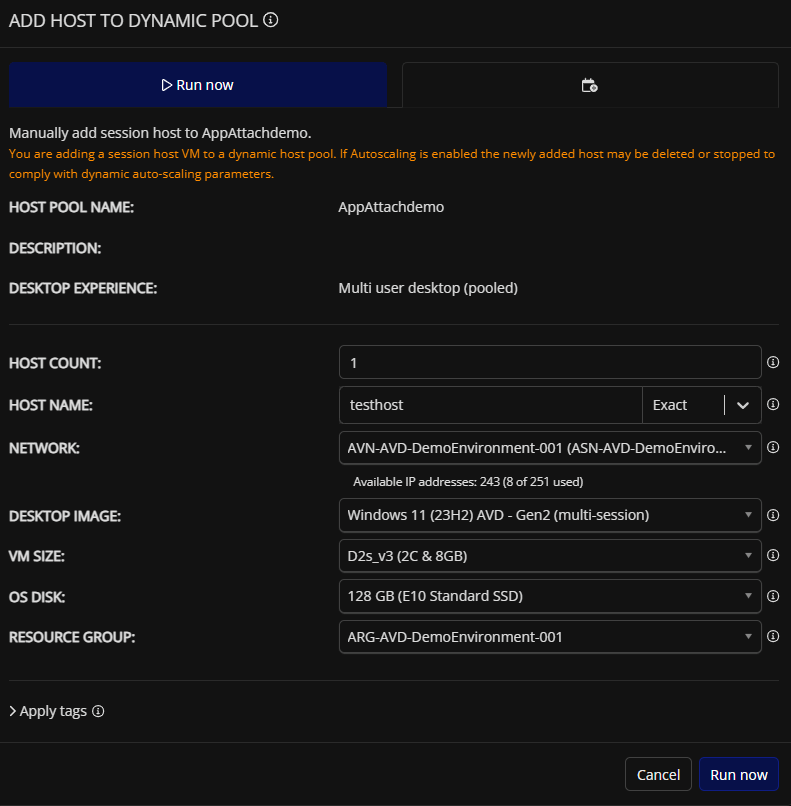
- Click 'Run now' and the session host will be created.