A functioning step by step guide using 'AVD App Attach' with Nerdio
Prerequisites
- An Azure Tenant with Global Administrator or App Registration permission
- An Azure Subscrition with owner permission
- A Nerdio Manager for Enterprise Installation
1. Creating the Storage Account for use in App Attach images
To create a storage account for App Attach with Nerdio, is significantly easier than via the Azure Portal, because it manages a lot of settings for you. Having said that, there are still a few hoops to jump through.
INFO
You for sure can create a normal storage account with this Guide too.
- To create a storage account, open your Nerdio Dashboard and click on 'Storage -> Azure Files'.
- Then select 'Add Azure Files'.
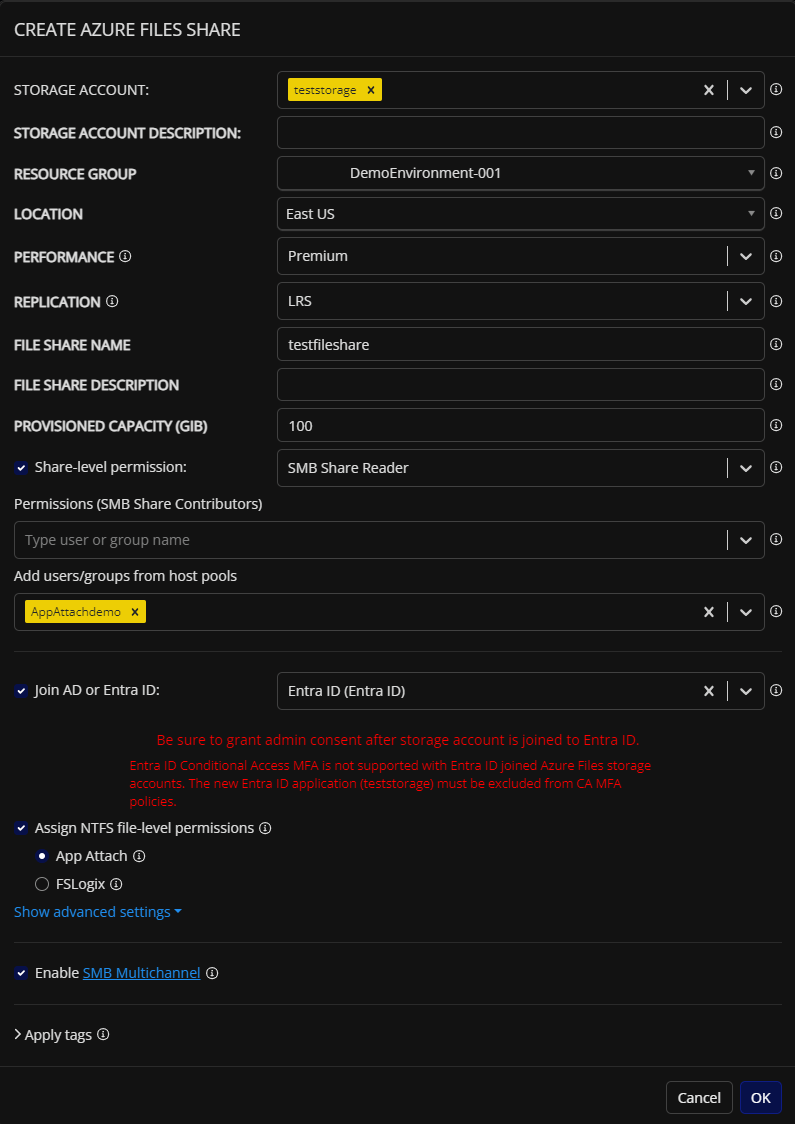
- In the now appearing pop-up Window you first need to select that you want to use a new storage account.
- To do that, you do not open the drop-down-menu under 'Storage Account', you just enter your selected name and press 'Enter' on your keyboard.
WARNING
Remember that a storage account name needs to be unique in the world and adhere to the following restrictions.
- between 3 and 24 characters in length
- might contain numbers and lowercase letters only
- Further you can enter the descriptionand all other needed storrage account parameter like ressoucre group, location and performance tier.
- Important is that you check 'Share-level permissions' and select 'SMB Share Reader' (Contributor is not nessecary for App Attach).
- Also add the users or hostpool you want to use the Add Attach for.
- Now choose to join Entra ID, check the 'Assign NTFS-file-level permissions' option, select 'App Attach' and select further down 'enable SMB Multichannel'.
- When you now click 'OK' the storrage account will be created.
But to give everyone the nessecary permissions, there is still some work to do.
- Open the Entra ID portal and select 'Applications -> Enterprise Applications'.
- Click on the Filter for 'Application type' and select 'All Applications'.
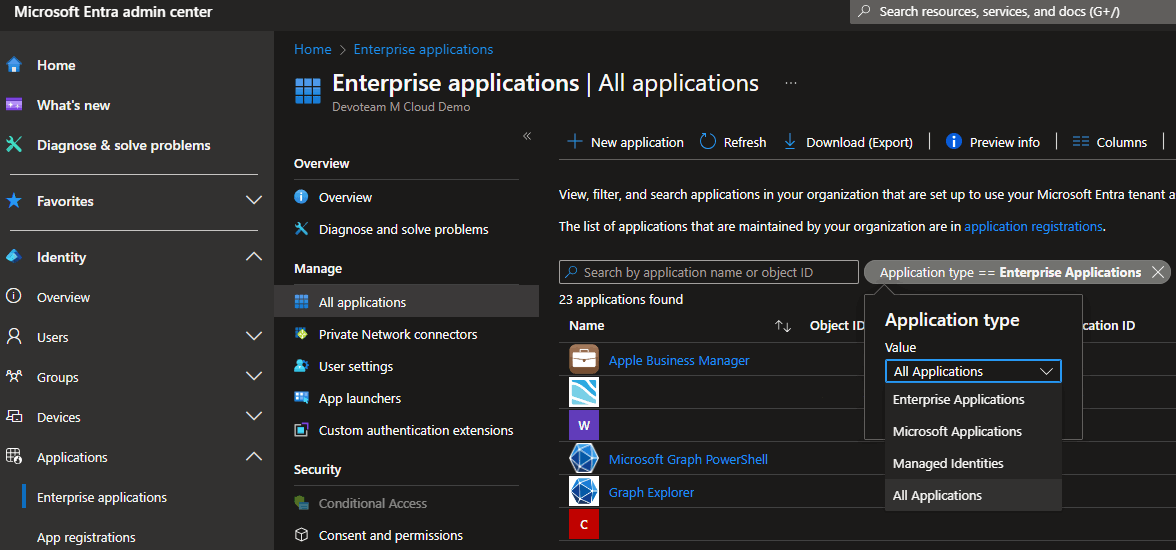
- Now use the searchbar to find an app that starts with '[Storage Account]' and then your chosen unique name.
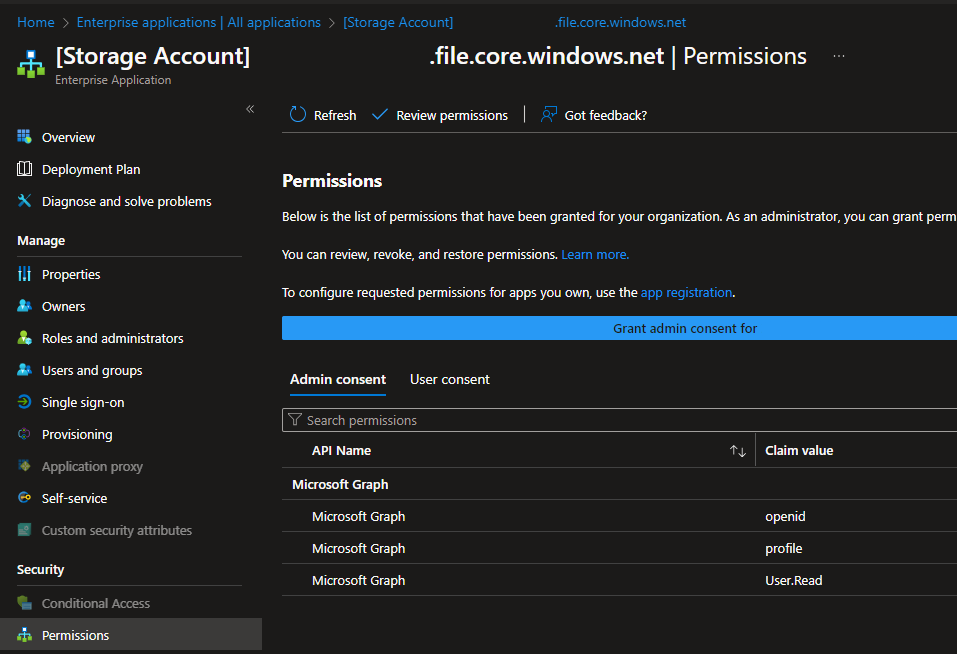
- Select this app and open the blade 'Permissions' on the right side.
- There you need to click the big blue button and grant admin consent to the app. This will enable it to make the connection for your users to the storage account.
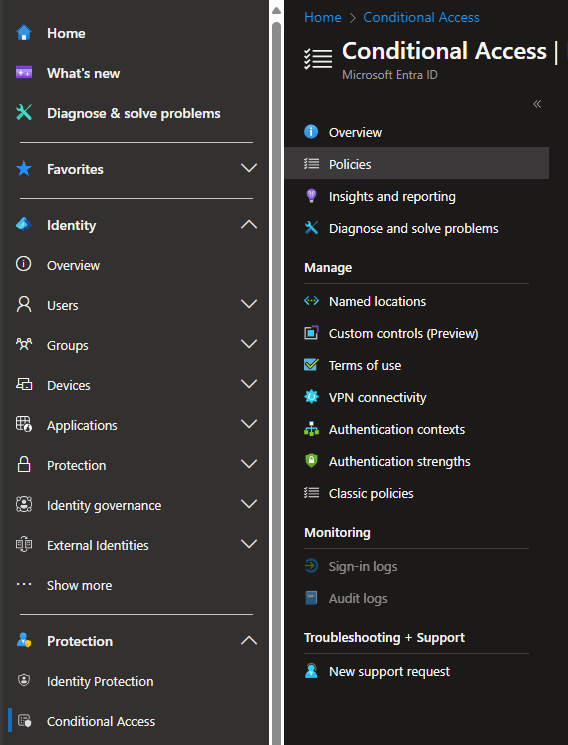
- Next you need to open 'Protection -> Conditional Access' and select 'Policies' on the sub-blade.
- The next step depends on your environment. You need to add an exception for the above mentioned app to all your Conditional Access policies regarding your users.
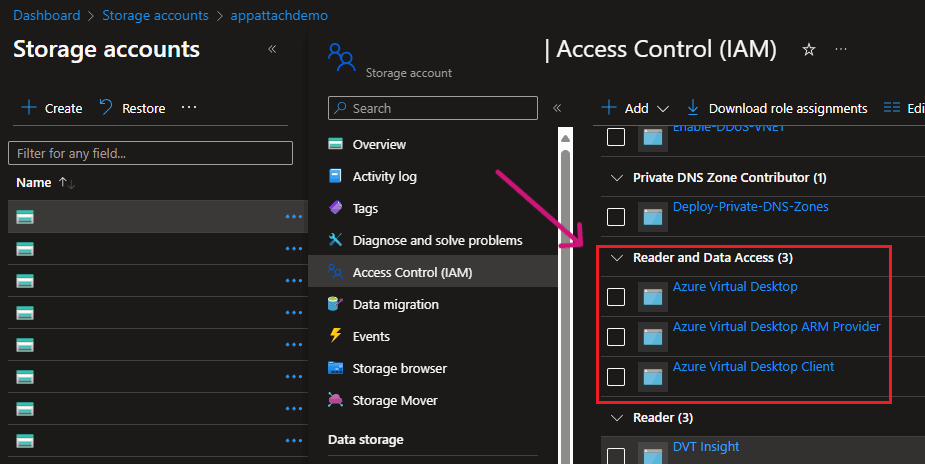
- For the last step, open the Azure Portal and select 'Storage accounts'.
- Now open your created storage account and select the blade 'Access Control (IAM)'.
- Here you need to add the following three objects to the role 'Reader and Data Access'.
- Azure Virtual Desktop (In old environments it could still be called 'Windows Virtual Desktop')
- Azure Virtual Desktop ARM Provider
- Azure Virtual Desktop Client
2. Add App Attach Package
- To create an app package, open your Nerdio Dashboard and click on 'Applications -> App Attach'.
- Now select 'Upload Image'.

- In the following pop-up window you enter the app name, version and select your previously created storage account.
- In addition you select the image file(s) and certificate.
- When you now click Upload the selected files will be copied for you to the storage account.

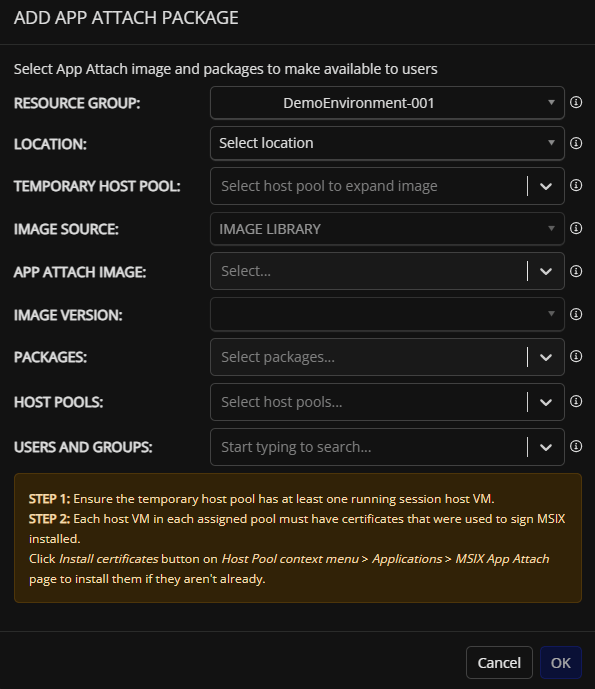
- Now on to adding the package in clicking 'Add App Attach Package'.
- Select all the nessecary parameter and a hostpool.
WARNING
Be aware that the selected location needs to be the same as the storage account.
- Click 'OK' and then the App Attach Package can be added like any other app to the hostpool.