👋 Introduction
Managing files across multiple locations while balancing on-premises infrastructure and cloud capabilities can present significant challenges. Azure File Sync offers a streamlined solution by enabling you to centralize file services in Azure while maintaining the performance and compatibility of on-premises servers.
In this article, I will explore how to configure Azure File Sync and install and configure the Azure File Sync agent using the new extension.
🧑🔧 Configuration
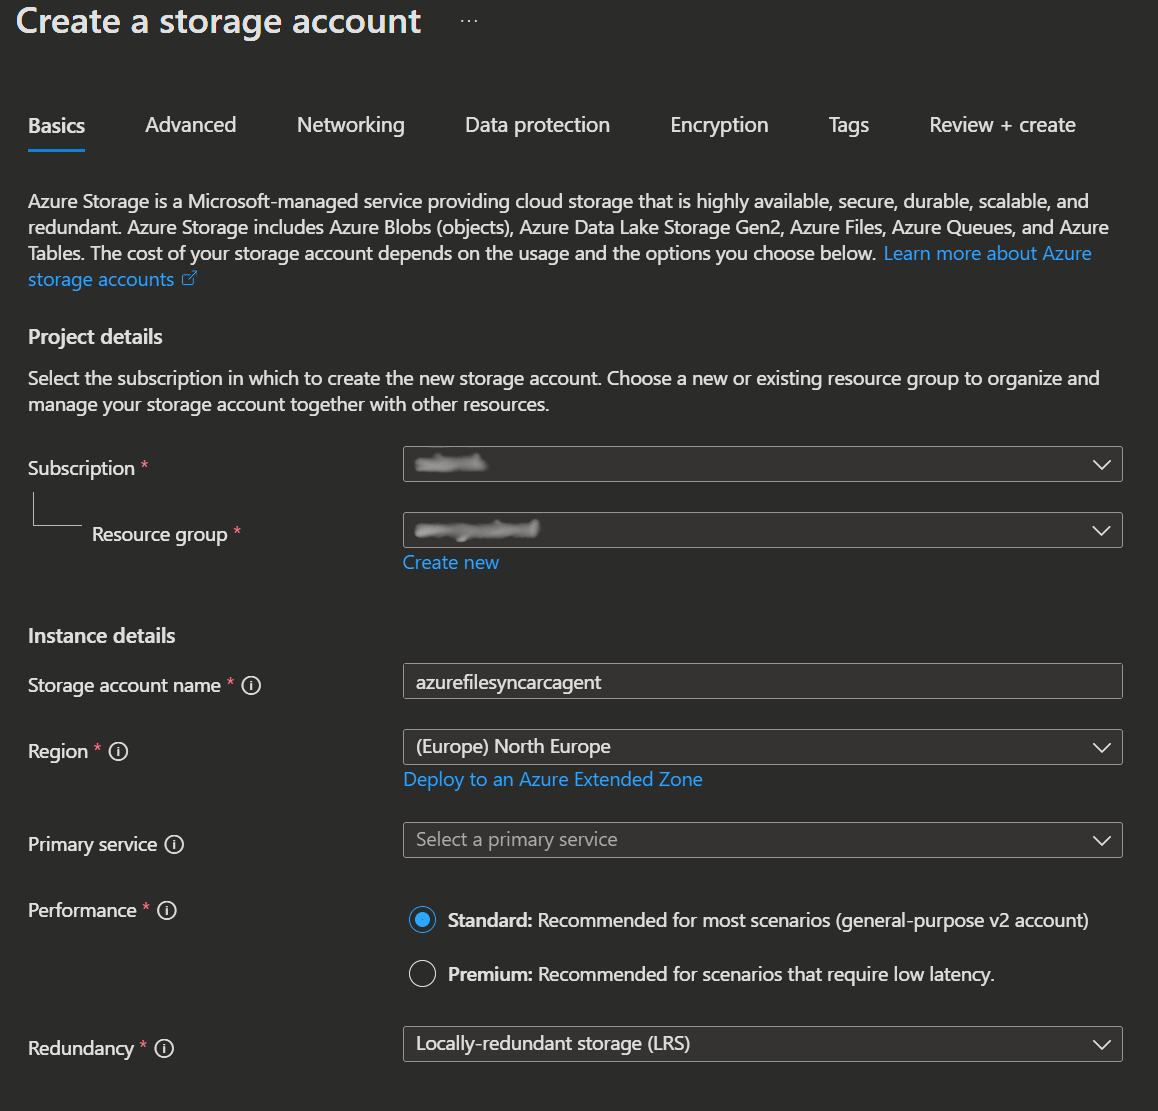
1. Create Storage account
- First open the Azure admin Portal → go to Storage accounts and create a new Storage Account with
Create. - Now you can enter the Storage Account details you want and click
Review + createin the end.
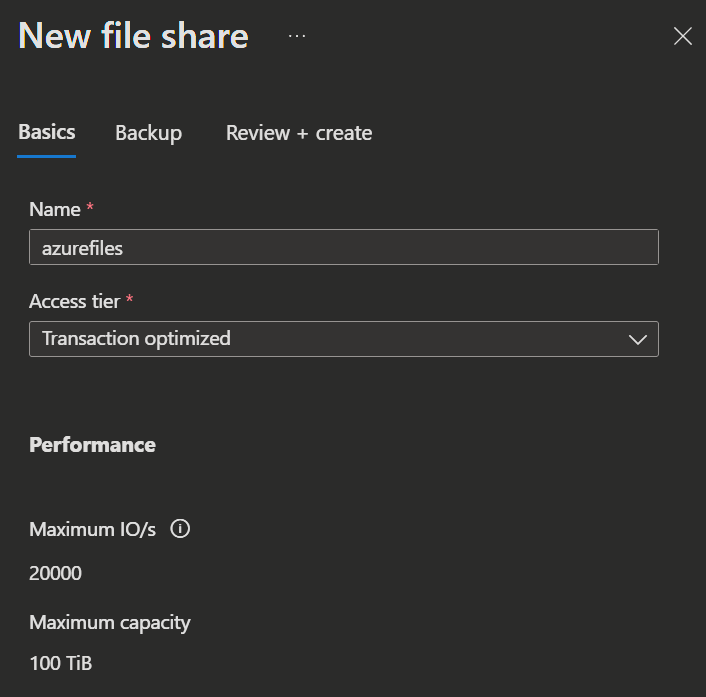
2. Create File Share
- Open your created Storage account go to Data Storage → File Shares → and select
+ File Share. - Now you enter the Name, Access tier and Backup information (if needed) and then select
Review + create.
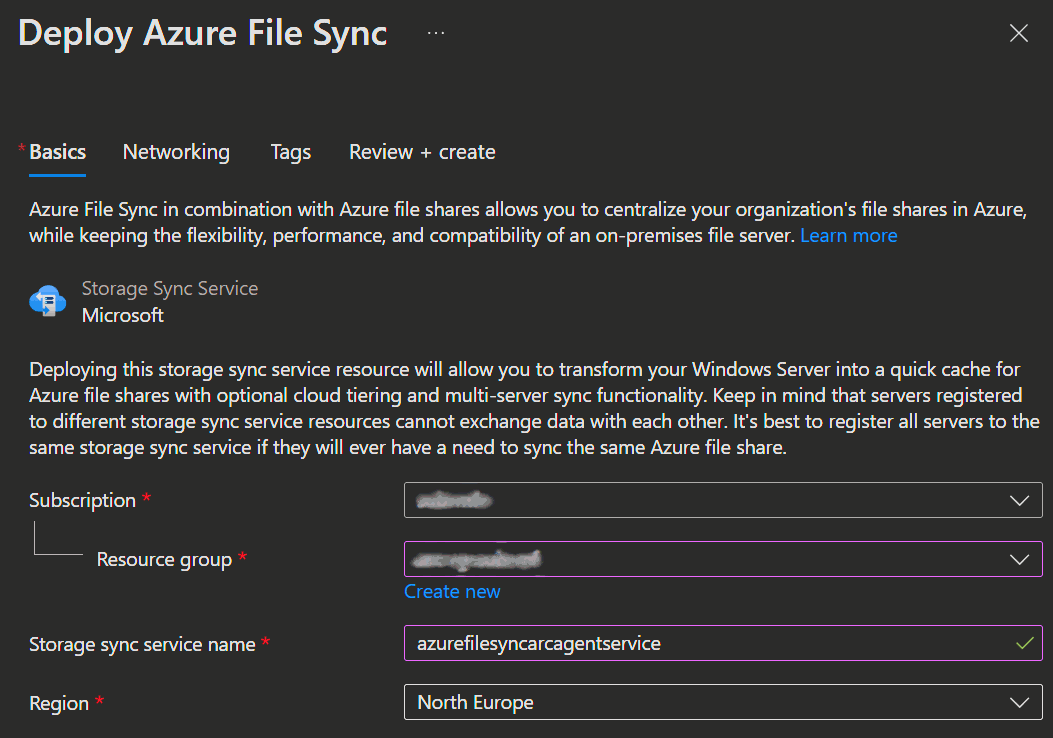
3. Create Azure Sync Service
- Now you open the Azure admin portal → Storage Sync Service and click
Create. - Next, you need to select your subscription, choose the resource group and provide a name for the Sync Service.
The Sync service needs to be in the same region as your Storage Account.
- Now, open the Storage Sync Service you created → Sync and select Sync groups.
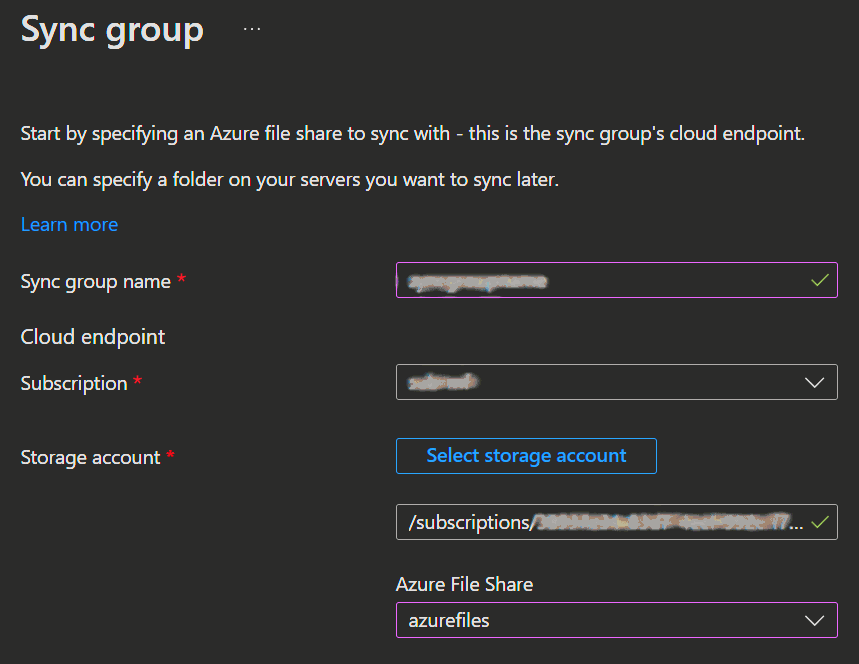
- Select
Create a sync group, enter a name, subscription and select the storage account, Azure File Share and then clickCreate.
4. Install Server Extension with Azure Arc
- Go to your Azure admin center → Azure Arc and select your Arc-enabled Windows Server from the list.
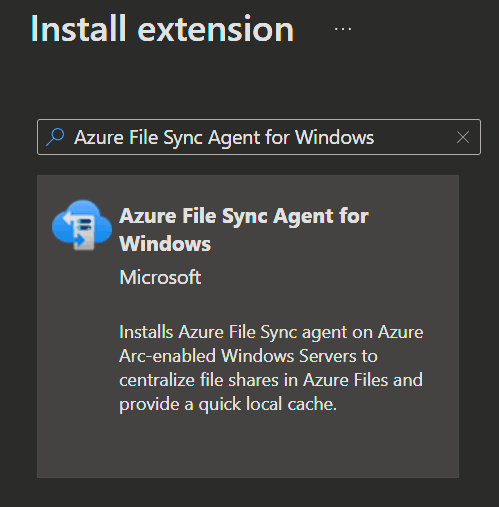
- Go to Extensions and click
+ Add. - Now select Azure File Sync Agent for Windows.
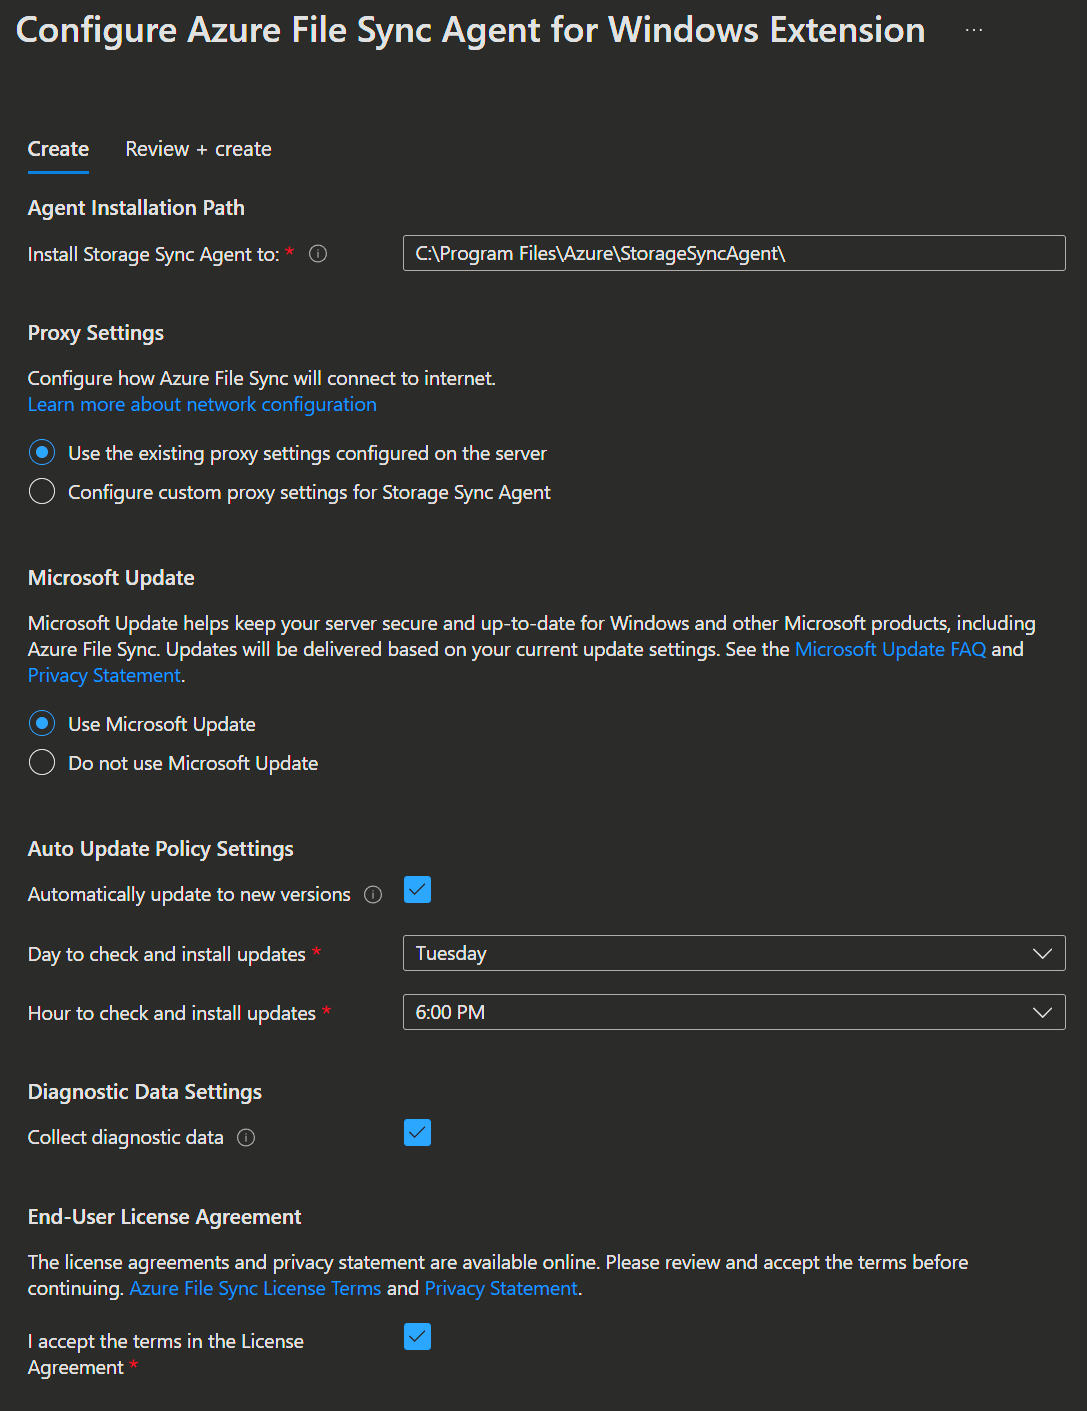
- Next you can configure the agents settings, then click
Review + createand wait for the Deployment to complete.

5. Configure Azure File Sync Agent
- Connect to your server and make sure that the Azure PowerShell module ist installed, because it is needed by the agent to work. If missing, you can install it with the following command:
install-module az -forceIMPORTANT
For the Agent to work properly, you must disable IE Enhanced Security Configuration in the Server Manager. 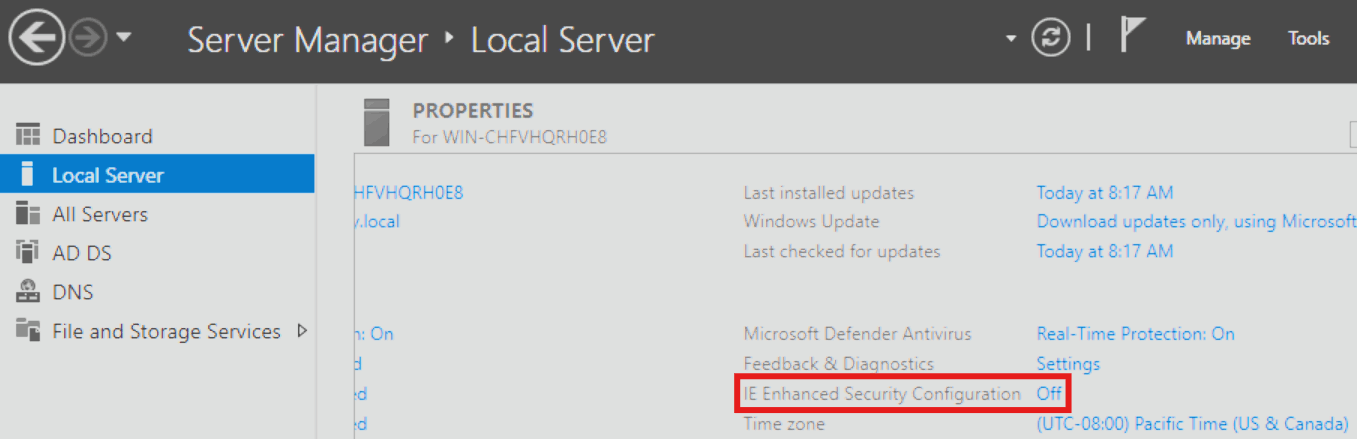
- After the agent got successfully deployed on the server, you can find the Azure Storage Sync Agent Updater in the list of installed programs.
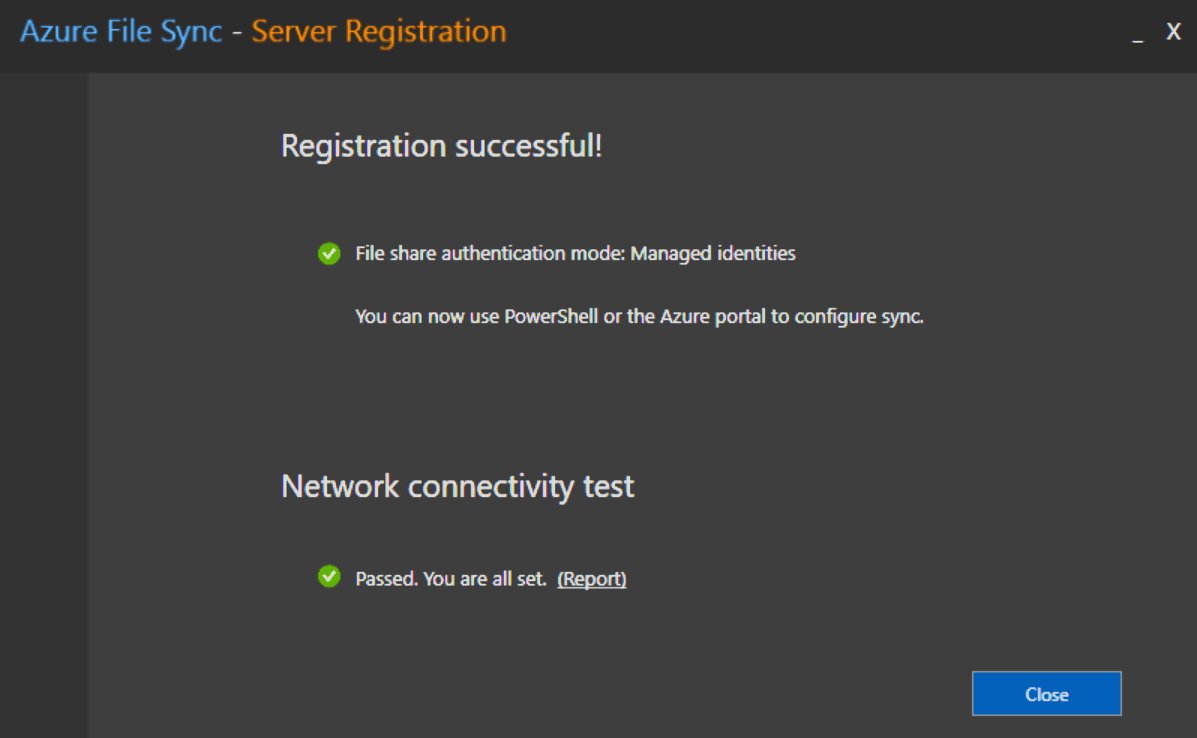
- Start the Updater and it will check the agent version, then start the Server Registration where you need to Sign in to Azure.
- Select your Azure Subscription, Resource Group and Storage Sync Service, then click
Register.

Alternatively you can use PowerShell for the registration:
Register-AzStorageSyncServer -ResourceGroupName "<your-resource-group-name>" -StorageSyncServiceName "<your-storage-sync-service-name>"- Next we need to configure the sync in the Azure Portal.
For that you go back to the Azure admin portal and open the Storage Sync Service you created. - Here you select Sync → Sync groups and open your previously created sync group.
- In the Sync group you need to click
Add server endpointand select your server and enter the Path you want to sync.
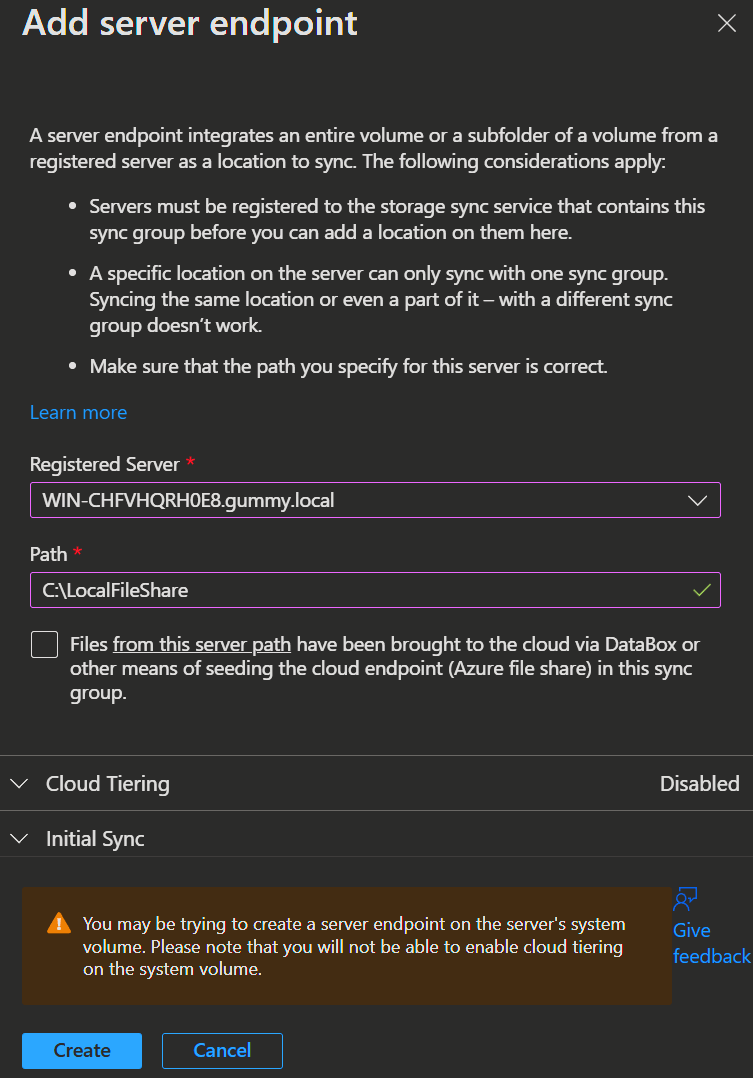
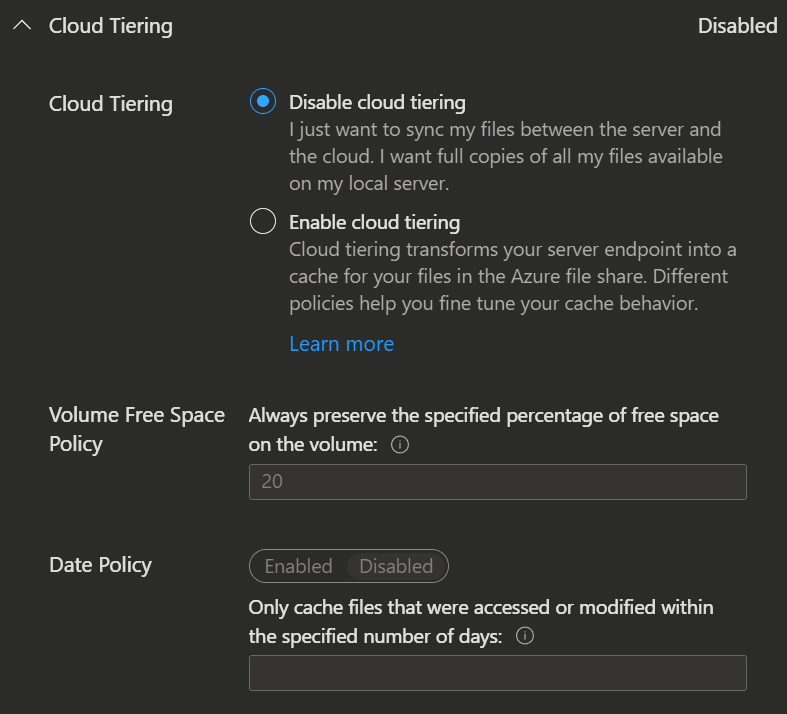
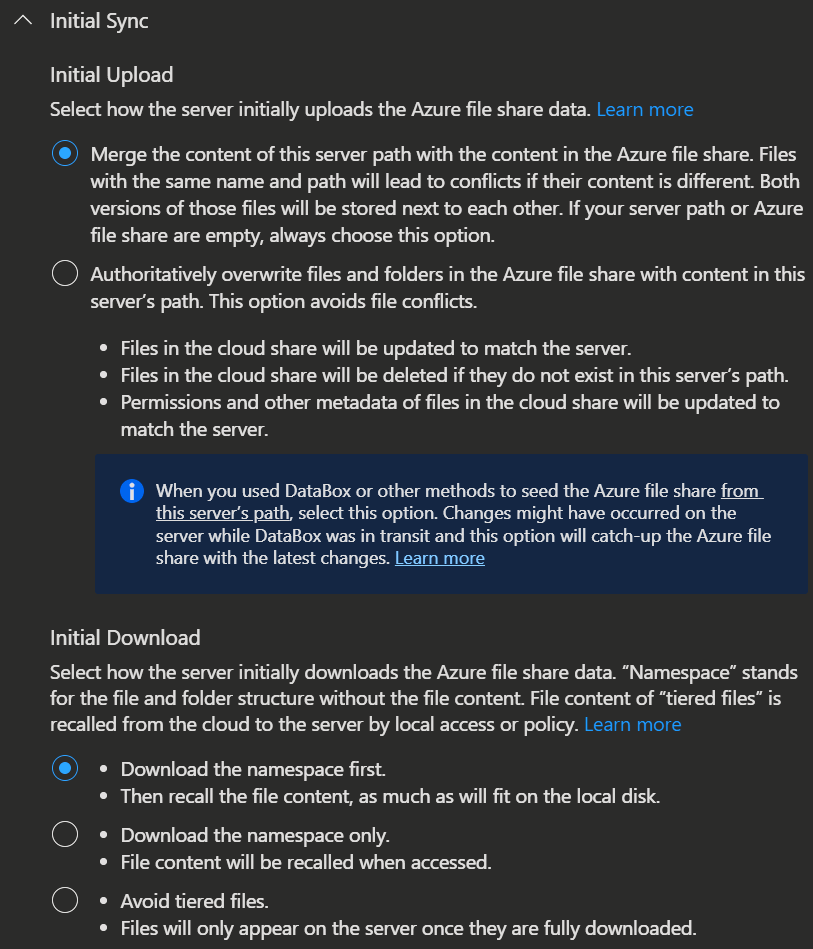
- Additionally you configure the Cloud Tiering and Initial Sync options.
 |  |
|---|
Cloud tiering
Cloud tiering, an optional Azure File Sync feature, reduces local storage needs while preserving on-premises performance. It keeps hot files locally and stores cool files content in an Azure file share, with only their names and folders kept on the server. When accessed, tiered files are automatically retrieved from the cloud.
- In the end you click
Createand wait for the deployment to complete.


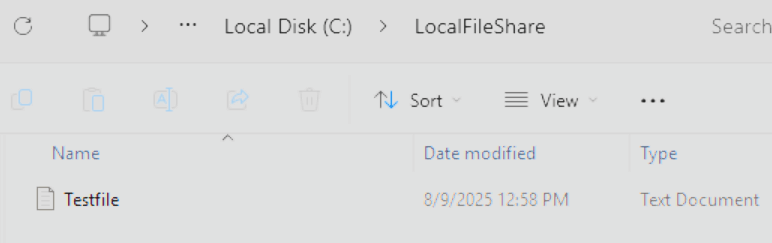
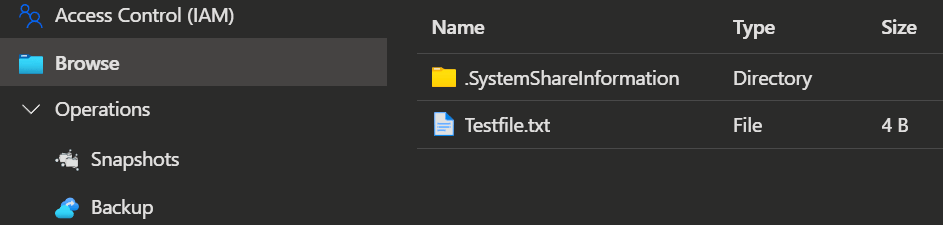
Here you can see, how the sync service syncronised the data from the local share to the storage account.
 |  |
|---|
INFO
If you want to learn how to unregister a Server, you can learn more here.
💡 Conclusion
Taking advantage of the Azure File Sync Agent via the Arc extension allows you to connect your on-premises file servers and Azure Files with far less effort. This approach streamlines deployment and configuration while opening the door to more centralised management and flexible scaling. Whether you’re modernising existing infrastructure or looking to simplify hybrid file services, this setup enables you to remain agile without compromising on control. Once in place, you will have a more resilient, cloud-connected file system that is ready to support your organisation's current needs and adapt to future requirements.
Resources