Windows Sandbox automation scripts
What is Windows Sandbox?
Windows Sandbox is a secure, isolated environment (VM) on Windows Pro and Enterprise. It creates a temporary, disposable instance of Windows, ensuring any changes made do not affect the host system.
Key Points
- Isolation: Each session is a fresh, clean slate.
- Efficiency: Uses the host's OS image, minimizing overhead.
- Disposable: All data is deleted when closed.
Windows Sandbox is perfect for testing software and exploring suspicious files without risk.
Install Windows Sandbox
INFO
An elevated Powershell instance is needed.
# Checks if the Windows Sandbox is alreaddy installed and if not, install it.
If (!(Get-WindowsOptionalFeature -Online -FeatureName Containers-DisposableClientVM)){
    Enable-WindowsOptionalFeature -Online -FeatureName Containers-DisposableClientVM
}
Winget Configuration with Windows Sandbox
To use Windows Sandbox with Winget, you first need a configuration file in .yaml format. To do this, you can simply create a text file and change the file extension to .yaml afterwards.
# yaml-language-server: $schema=https://aka.ms/configuration-dsc-schema/0.2

###############################################################################
# Create Windows Sandbox instance with WinGet installed.                      #
# Run as Administrator                                                        #
# Mount C:\Sandbox on the local filesystem into the Sandbox filesystem.       #
# The Logon command performs the following steps in Windows PowerShell:       #
# 1. Set the execution policy to RemoteSigned                                 #
# 2. Download and install App Installer (WinGet) and it's dependencies        #
###############################################################################

properties:
  resources:
    - resource: Microsoft.WindowsSandbox.DSC/WindowsSandbox
      directives:
        description: Create Windows Sandbox with Winget installed
        allowPrerelease: true
      settings:
        Ensure: Present
        # You could also provide a custom .wsb file to open (look at the next point further down) with the Windows Sandbox,
        # but the following parameters will override the values from it.
        # WsbFile: <Provide a custom .wsb file to open.>

        # The Logon command is in essence a powershell  script that will be executed when the sandbox is started. First it installs the Windows package manager.
        LogonCommand: >
          cmd /c start powershell -NoExit -Command "$progressPreference = 'silentlyContinue';
          Write-Host 'Setting execution policy to remote signed...' `n;
          Set-ExecutionPolicy RemoteSigned -Force;
          Write-Host 'Downloading WinGet and its dependencies...' `n;
          Invoke-WebRequest -Uri https://aka.ms/getwinget -OutFile Microsoft.DesktopAppInstaller_8wekyb3d8bbwe.msixbundle;
          Invoke-WebRequest -Uri https://aka.ms/Microsoft.VCLibs.x64.14.00.Desktop.appx -OutFile Microsoft.VCLibs.x64.14.00.Desktop.appx;
          Invoke-WebRequest -Uri https://github.com/microsoft/microsoft-ui-xaml/releases/download/v2.8.6/Microsoft.UI.Xaml.2.8.x64.appx -OutFile Microsoft.UI.Xaml.2.8.x64.appx;
          Add-AppxPackage Microsoft.VCLibs.x64.14.00.Desktop.appx;
          Add-AppxPackage Microsoft.UI.Xaml.2.8.x64.appx;
          Add-AppxPackage Microsoft.DesktopAppInstaller_8wekyb3d8bbwe.msixbundle;
        # From here on out you can use winget to install apps in the sandbox.
          winget install notepad++.notepad++ --accept-package-agreements --accept-source-agreements;
        # HostFolder: <Absolute path to folder on host machine that will be shared into the Windows Sandbox>
        # SandboxFolder: <Absolute path to destination in the sandbox to map the Host Folder to>
        # ReadOnly: false
        MemoryInMB: 4096
        vGPU: true
        # AudioInput: true
        # ClipboardRedirection: true
        Networking: true
        # PrinterRedirection: false
        # ProtectedClient: false
        # VideoInput: true
  configurationVersion: 0.2.0
After you safted the .yaml file on your computer, you can start the Windows Sandbox with the following command:
# Use Winget to start and configure the Windows sandbox.
winget configure C:\[FileName].yaml --accept-configuration-agreements
TIP
Microsoft hosts a link to a configuration file that can be used to configure the Windows Sandbox with Winget installed. winget configure. https://aka.ms/sandbox.dsc.yaml
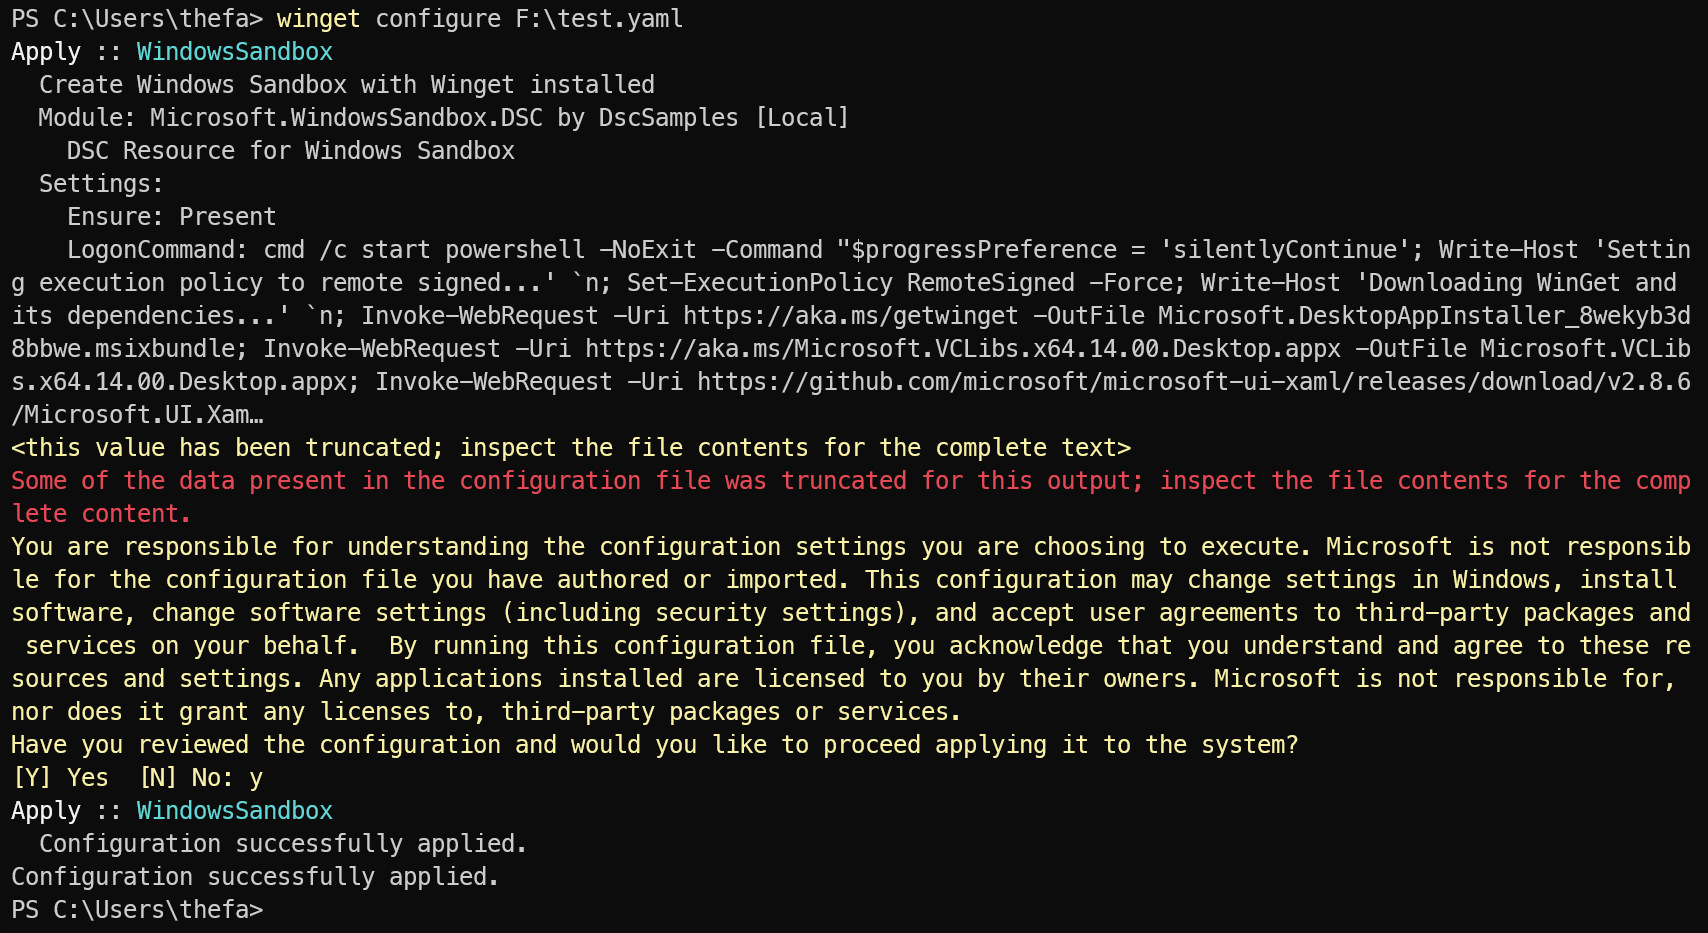
Powershell window when starting the sandbox like shown above:
INFO
When you remove the '--accept-configuration-agreements' part from the command, you get the question at the end that you need to answer, like shown in the screenshot.
Windows Sandbox configuration with a .wsb file
You can also configure the Windows Sandbox with a .wsb file. The advantage is, that you can just double click the .wsb file to start the Windows Sandbox. This means you don`t need to use powershell in any way and can deploy the file to other users.
To create such a file, you can again simply write your configuration into a text editor and change the file extention afterwards to .wsb.
This example
- disables the vGPU
- enables Networking
- Maps a local folder 'C:\TestReadFolder' as read only to the Windows Sandbox folder 'TestReadFolder' under Documents.
- Maps a local folder 'C:\TestReadWriteFolder' to the Windows Sandbox folder 'TestReadWriteFolder' under Documents.
- Downloads vsCode to Downloads and installs it.
<Configuration>
  <vGpu>Disable</vGpu>
  <Networking>enable</Networking>
  <MappedFolders>
    <MappedFolder>
      <HostFolder>C:\TestReadFolder</HostFolder>
      <SandboxFolder>C:\Users\WDAGUtilityAccount\Documents\TestReadFolder</SandboxFolder>
      <ReadOnly>true</ReadOnly>
    </MappedFolder>
    <MappedFolder>
      <HostFolder>C:\TestReadWriteFolder</HostFolder>
      <SandboxFolder>C:\Users\WDAGUtilityAccount\Documents\TestWriteFolder</SandboxFolder>
      <ReadOnly>false</ReadOnly>
    </MappedFolder>
  </MappedFolders>
  <LogonCommand>
    <Command>powershell.exe "invoke-webrequest https://update.code.visualstudio.com/latest/win32-x64-user/stable" -outfile C:\users\WDAGUtilityAccount\Downloads\vscode.exe
    C:\users\WDAGUtilityAccount\Downloads\vscode.exe /verysilent /suppressmsgboxes</Command>
  </LogonCommand>
</Configuration>