New Azure File Share Resource (Microsoft.FileShares)
👋 Introduction
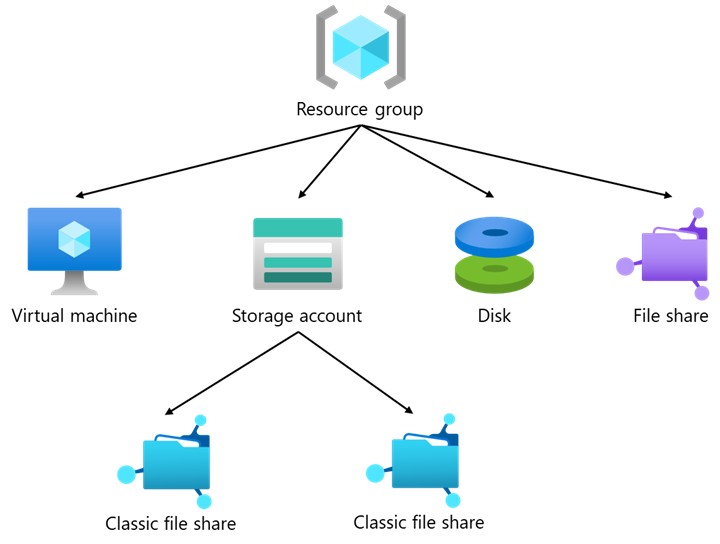
Microsoft has released a new way to create and manage Azure file shares using the Microsoft.FileShares resource provider. Instead of handling everything through storage accounts, this update lets you manage file shares directly. You can now set security and network controls for each share, monitor them individually, and scale as needed without extra complexity.
This new model is currently in preview and supports only NFS file shares on premium SSD storage. Premium SSDs provide high performance but they are not cheap, so keep an eye on that if you decide to test this Resource.
This preview is a great step toward simpler, more flexible file shares in the cloud.
WARNING
Microsoft.FileShares is currently in preview and features are limited, but will get expanded in the future.
📂 Creating a File Share
- Open the Azure admin portal.
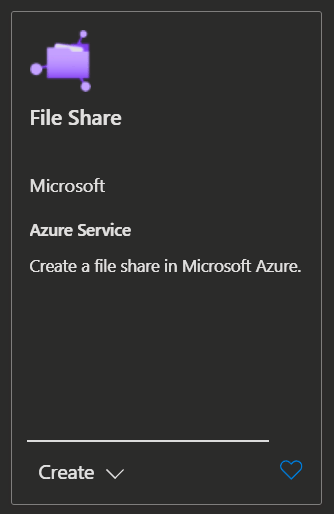
- Click
Create a resource, search for File Share (Microsoft.FileShares), choose the File Share resource from the results and then clickCreate.
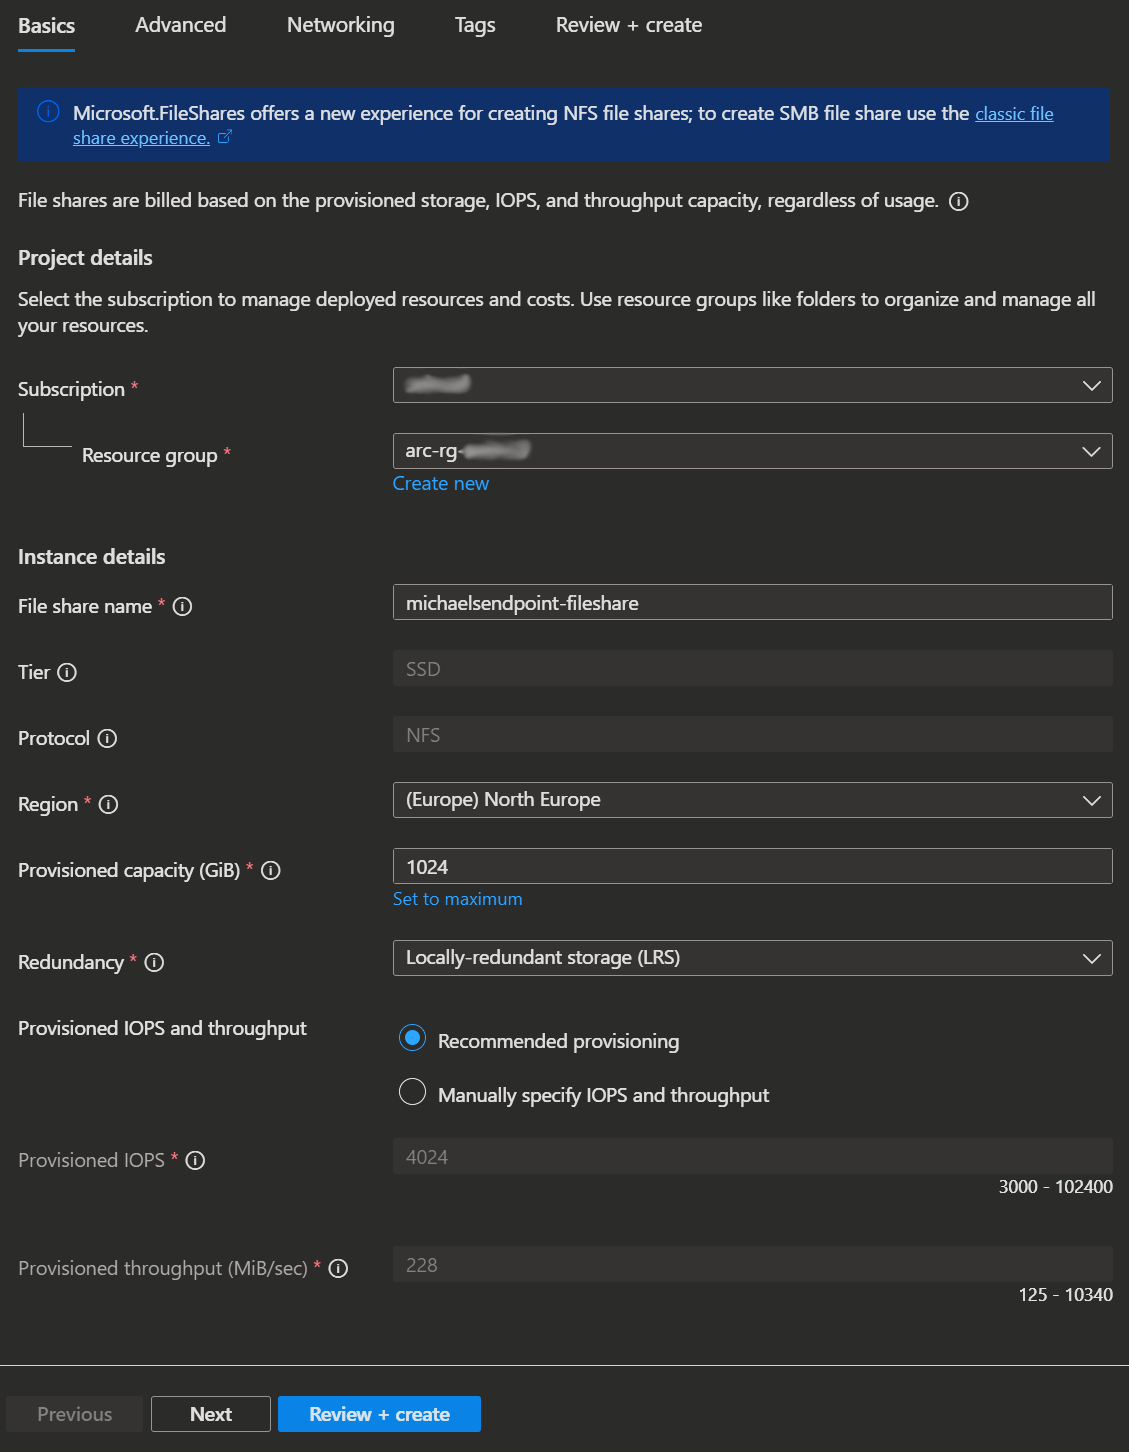
- Fill in the required fields in the Basics tab.
INFO
At this time, Redundancy options are limited to ZRS (Zone Redundant Storage) and LRS (Locally Redundant Storage).
The File share name is not the name shown when you mount the drive. This is just the resource name in Azure. So any naming conventions you have for resources in Azure can be applied without affecting end-user experience.
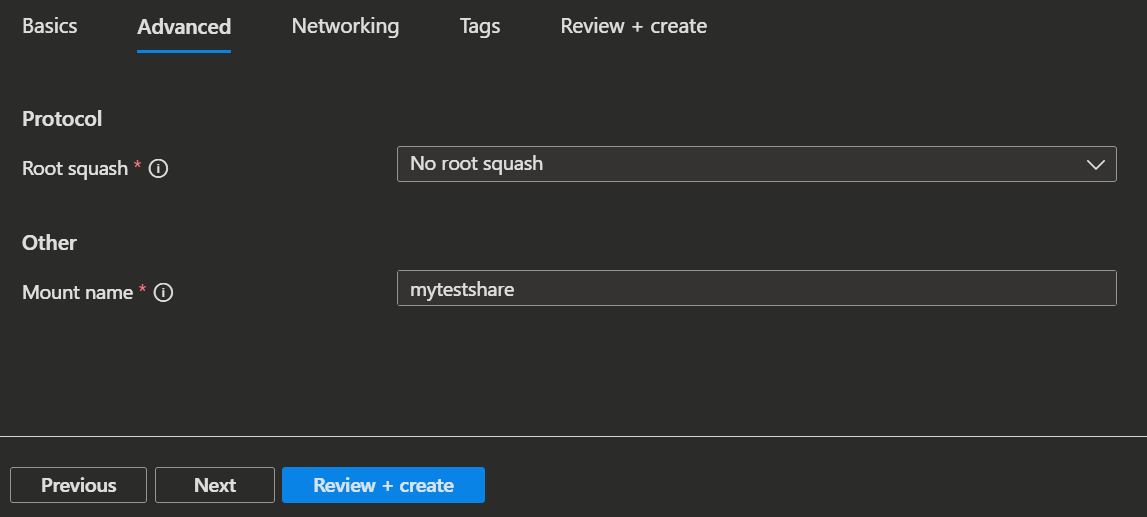
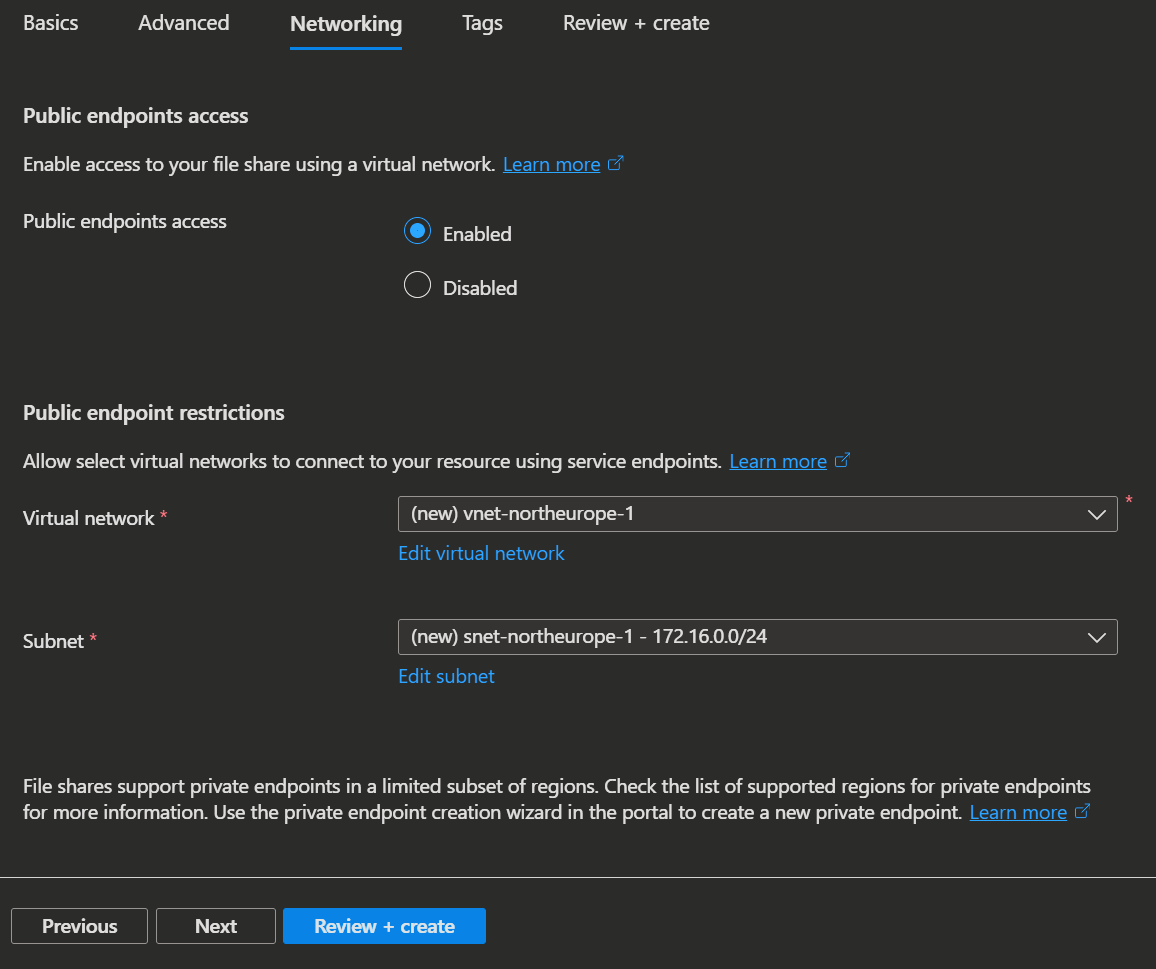
- Select your Advanced and Networking options.
- Here you can set the actual mount name the end-user will see.
Protocol explanation
Root squash
- No root squash: Root user on the client is treated as root on the file share.
- Root squash: Root user on the client is treated as an anonymous user on the file share.
- All squash: All users on the client are treated as an anonymous user on the file share.
 |  |
|---|
- Lastly select
Review + createto deploy the file share.
🗃️ Mounting a File Share
Prerequisites
- A VM with a connection to the subnet of the file share.
- NFS client installed on the VM.
INFO
You can find the Public endpoint in your VNet in your file share's Networking tab. 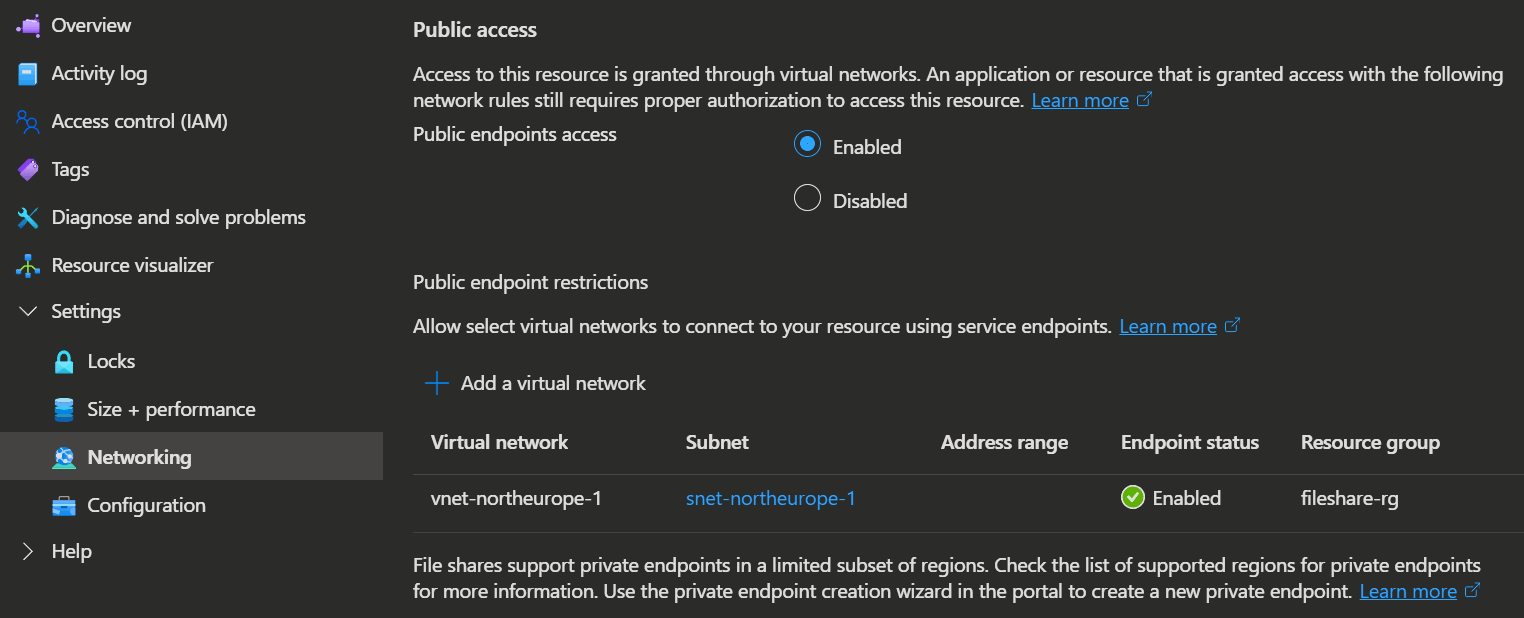
Steps to mount the file share
Open the Azure admin portal -> File shares and get the mount command from your file share's Overview tab.
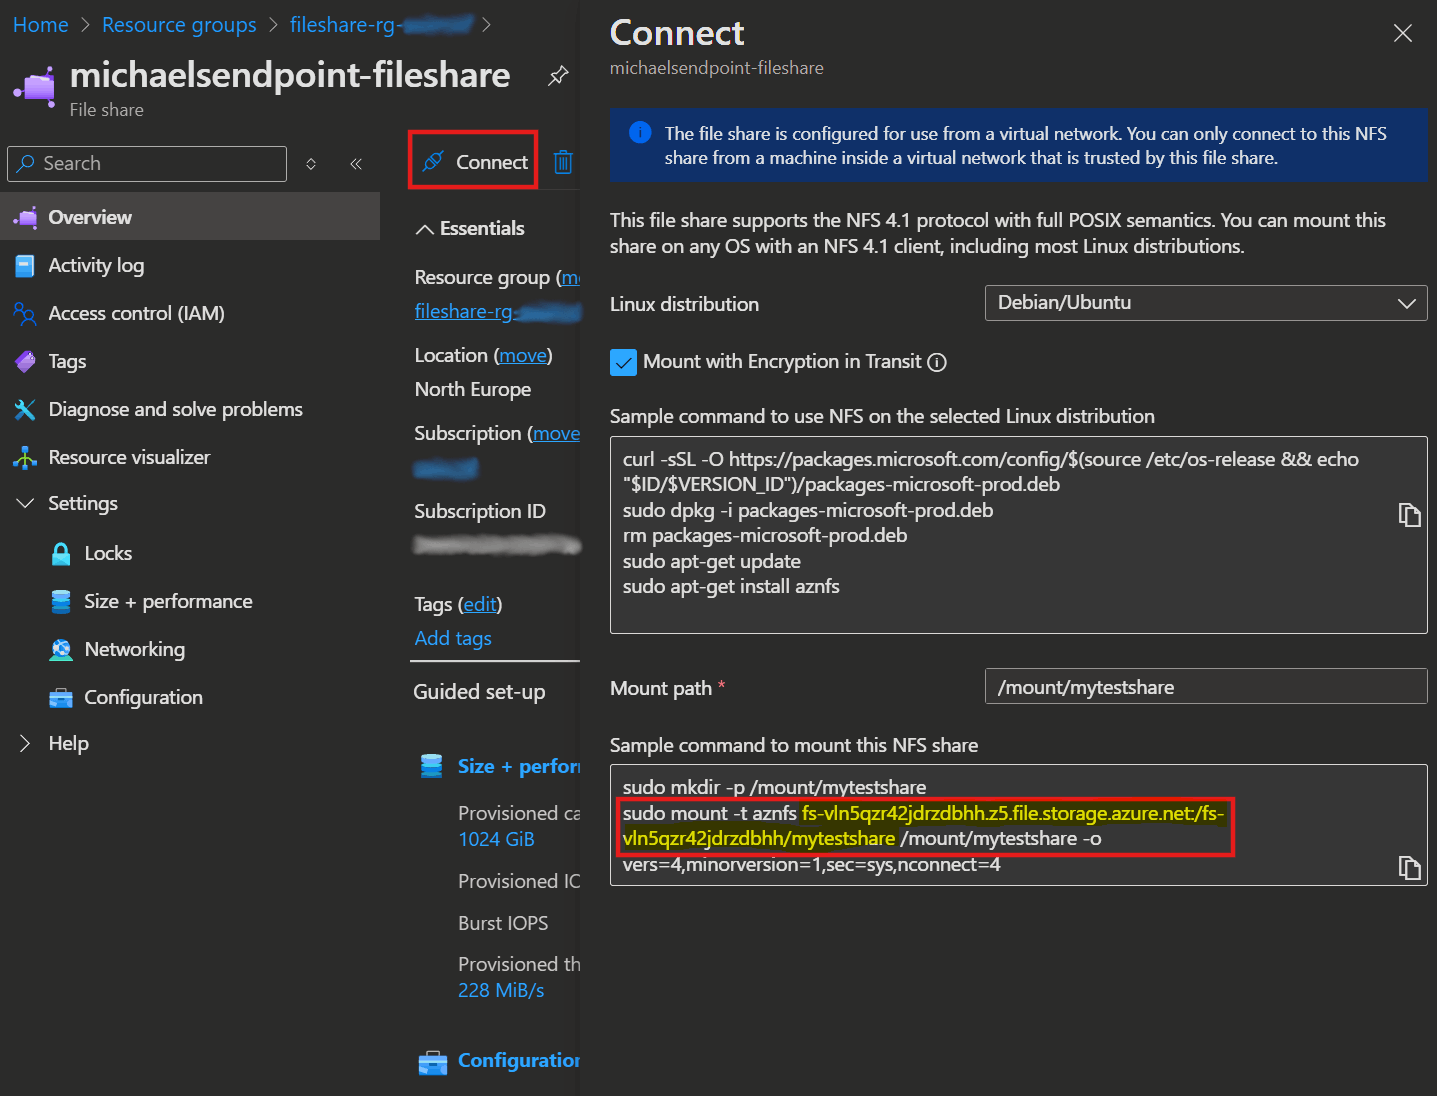
You can either use the following command to install the NFS client on your Linux VM without encryption in transit or use the the longer command seen in the screenshot above.
sudo apt-get -y update
sudo apt-get install nfs-common
Use the command below to mount the file share on your VM. In the screenshot, the highlighted portion is the file share’s address, that you need to change to fit your share.
sudo mkdir -p /mount/mytestshare
sudo mount -t nfs fs-vln5qzr42jdrzdbhh.z5.file.storage.azure.net:/fs-vln5qzr42jdrzdbhh/mytestshare /mount/mytestshare -o vers=4,minorversion=1,sec=sys
After that, the mounted file share will appear under the name you specified during creation.

💡 Conclusion
The Microsoft.FileShares preview marks a meaningful step toward simpler, more flexible file share management in Azure. By treating file shares as first-class resources, it reduces dependency on storage account and enables per-share configuration, monitoring and access control. While currently limited in preview, the future should improve security and scalability for file shares.
Key improvements
- Deploy file shares using easy automation as a top-level resource
- Configure granular secure access by share
- Monitor and scale per share with added flexibility
- Leverage simplified transparent pricing with provisioned v2
Resources