Taskbar and Start Menu customization
🧑🔧 Customize the Windows 11 Taskbar
Customising the Windows 11 Taskbar allows you to personalise the user experience by pinning frequently used applications and removing unnecessary shortcuts. This section provides instructions on creating a Taskbar configuration XML file and testing it in a controlled environment. To make things easier and avoid having to create a complicated XML file, I've created a script that gives you a handy list of your apps to select and then creates the XML file for you.
Creating the Taskbar settings XML
- Configure the taskbar with Microsoft Intune or GPO by automatically creating the XML file using the script I created from the PSGallery.
Install-Script -Name New-TaskbarCustomizationXMLOr you Download the script directly from my Github.
- As soon as you Start the Script with the command below, a Windows Explorer Dialog opens and you can select a Folder to save your Script.
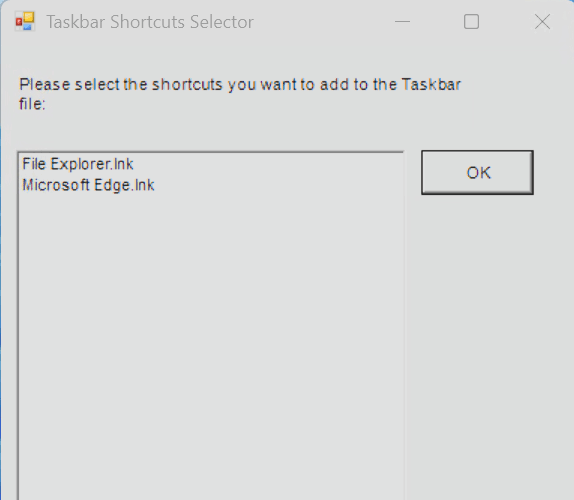
New-TaskbarCustomizationXML- Next, the script opens a list of your current taskbar shortcuts. Select the shortcuts you want to add to the XML file.
TIP
Hold Strg or Shift to add multiple items.
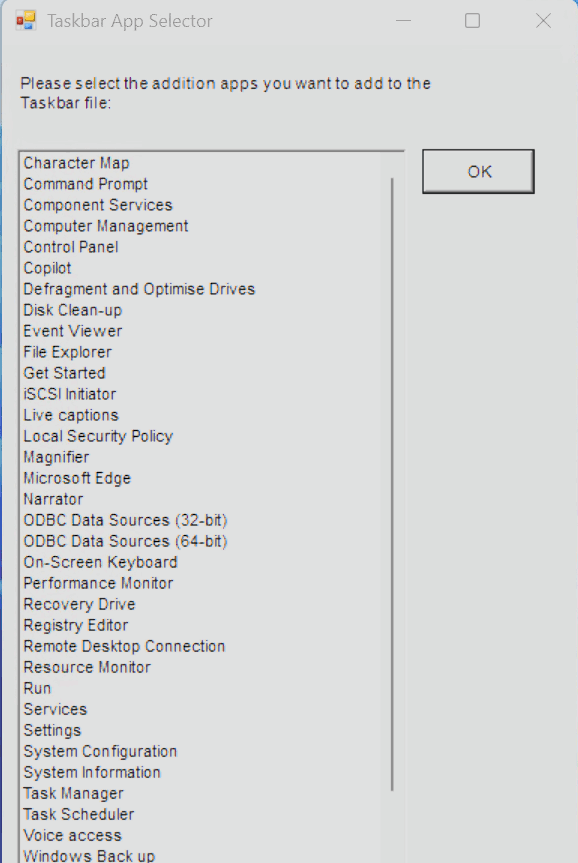
- The script opens a list of all your installed packages (programs). Select the ones you want to add to the XML file.
TIP
If you select nothing in either list, the final XML will automatically add the nessecarry lines for a taskbar icon removal.
- NEW Nov 2025 Next you will be asked if you want any of the Pins not to come back, if the user unpins them.
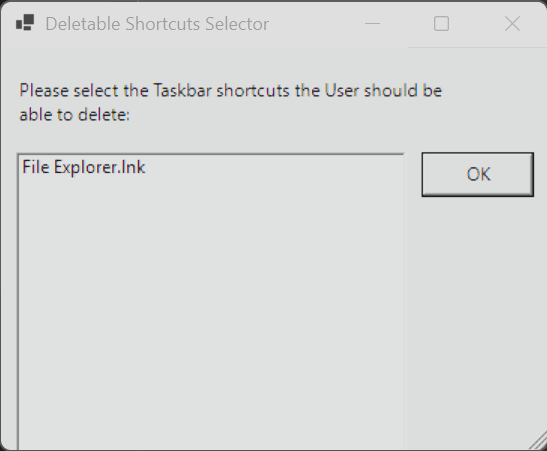
INFO
- Any pins set up via policy settings come back when the next policy update cycle happens, even if you unpin them.
- Pins that have the new attribute (PinGeneration) can be unpinned from the taskbar and won't be repinned during the next policy update cycle.
Starting with Windows 11 Insider Preview Build 26200.5722 (Dev Channel) and 26120.5722 (Beta Channel), taskbar pin configurations deployed via policy are applied instantly, without requiring the user to sign out and sign back in.
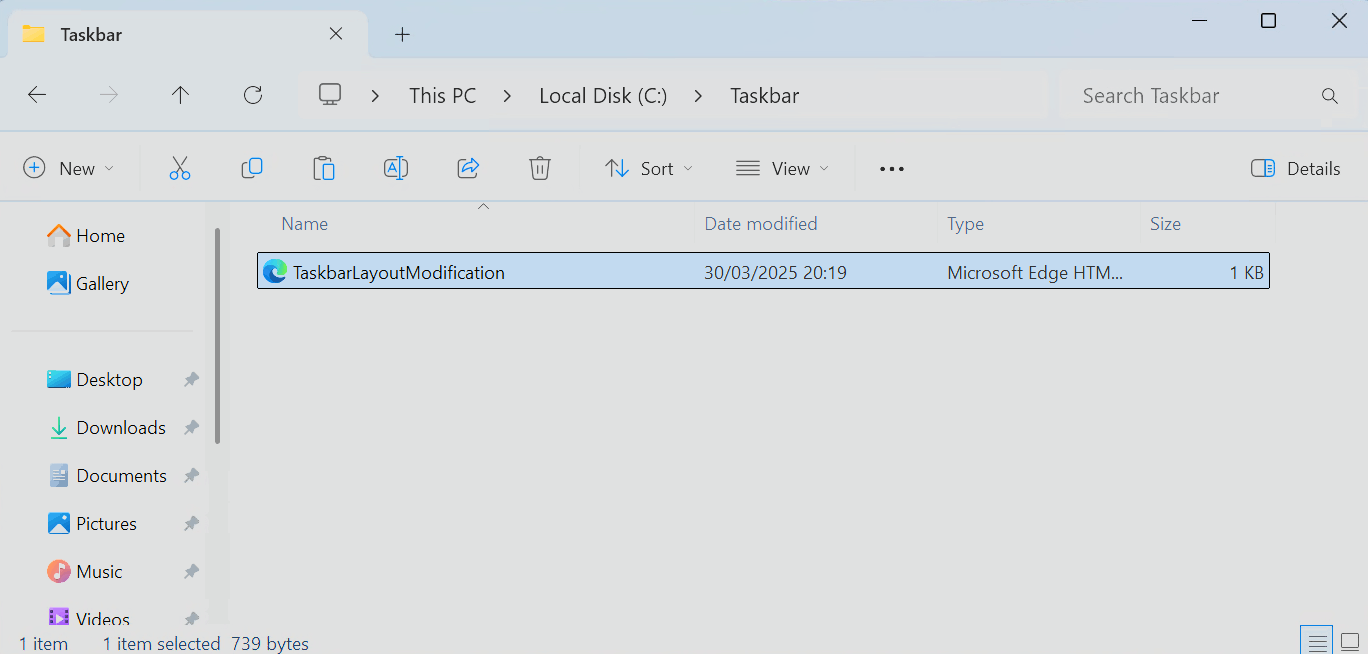
- Pressing OK will create a new folder called TaskBar_XML in the folder you selected. You can then find your new XML file in this folder.
XML file example from Microsoft:
<?xml version="1.0" encoding="utf-8"?>
<LayoutModificationTemplate
    xmlns="http://schemas.microsoft.com/Start/2014/LayoutModification"
    xmlns:defaultlayout="http://schemas.microsoft.com/Start/2014/FullDefaultLayout"
    xmlns:start="http://schemas.microsoft.com/Start/2014/StartLayout"
    xmlns:taskbar="http://schemas.microsoft.com/Start/2014/TaskbarLayout"
    Version="1">
  <CustomTaskbarLayoutCollection>
    <defaultlayout:TaskbarLayout>
      <taskbar:TaskbarPinList>
        <!-- your pins list goes here -->
    </defaultlayout:TaskbarLayout>
 </CustomTaskbarLayoutCollection>
</LayoutModificationTemplate>
INFO
You can find more Information on Taskbar customization in this Microsoft Learn Article: Configure the Windows taskbar.
Test Taskbar XML
To test the XML file quickly and set up Start Pins, follow these instructions:
- Start the Windows Sandbox, any other VM or your own PC. If you're using a Virtual Machine, copy the XML file onto it.
INFO
You can find out how to install the Windows Sandbox here.
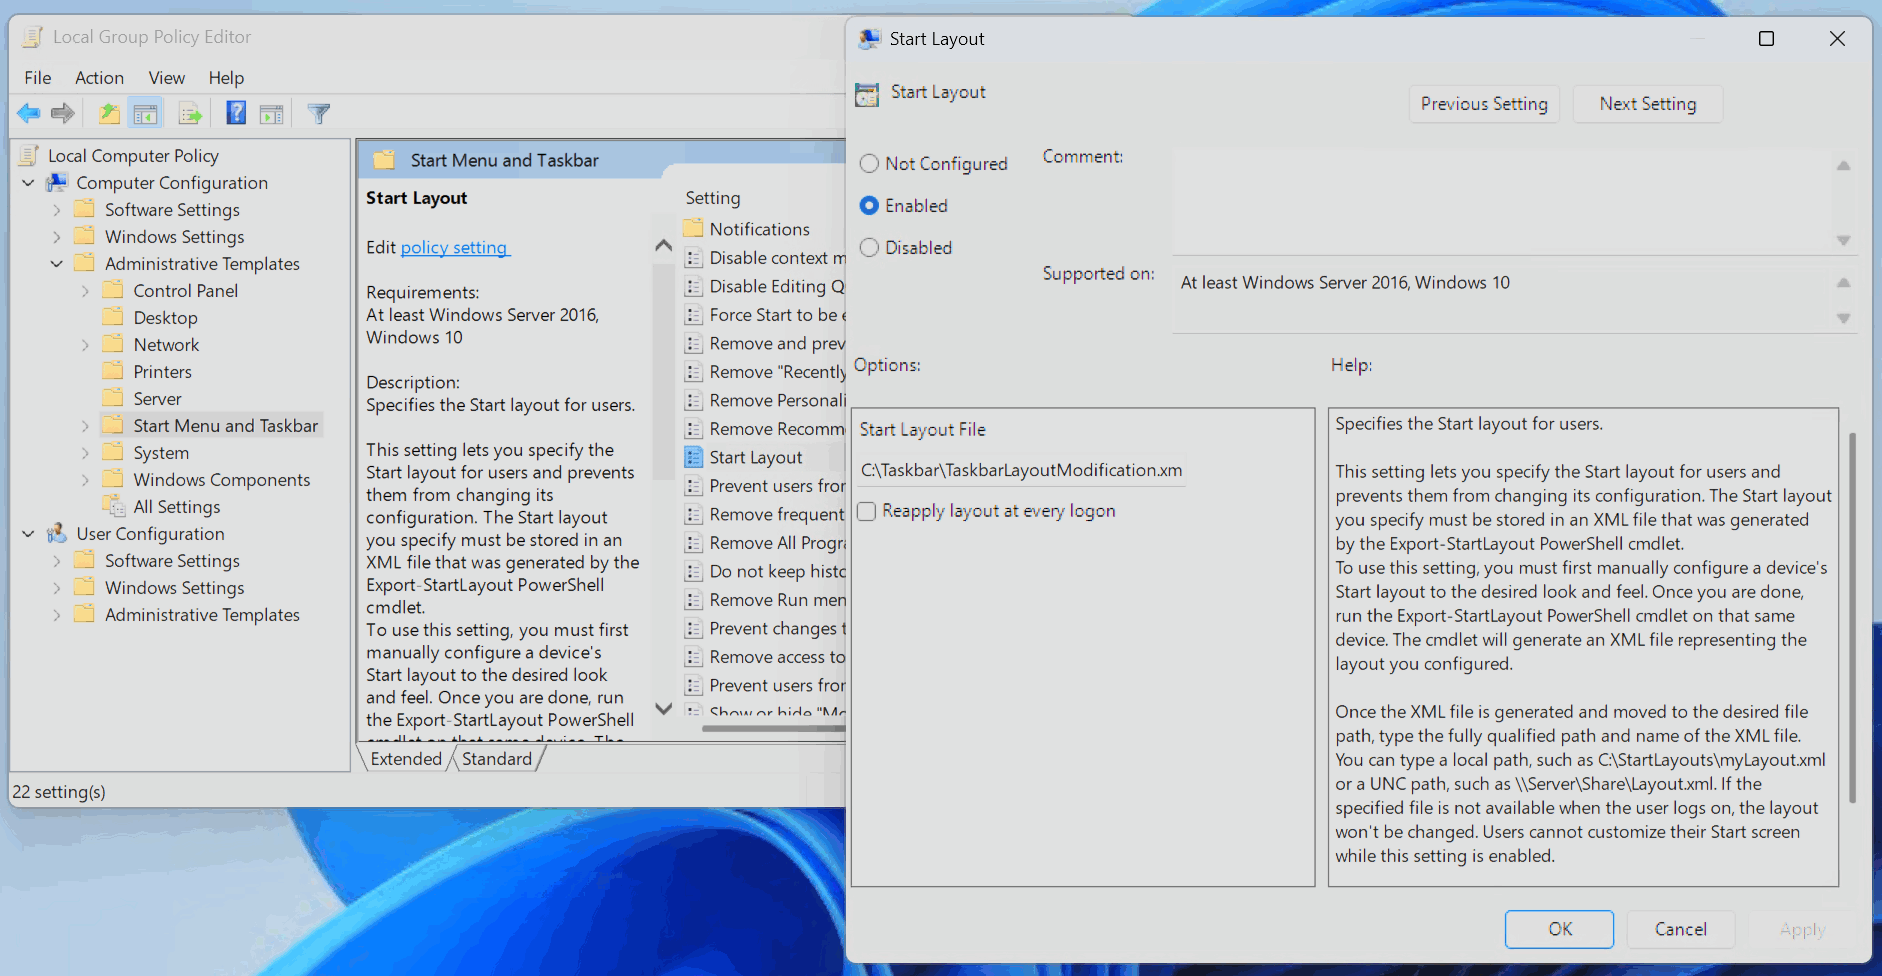
- Open the local Group Policy Editor (gpedit.msc) and go to Computer Configuration -> Administrative Templates -> Start Menu and Taskbar.
- Next open Start Layout, select Enabled and enter the path of the XML file.
- Finally click OK.
- Now open a command prompt or powershell window and enter the following command.
gpupdate /force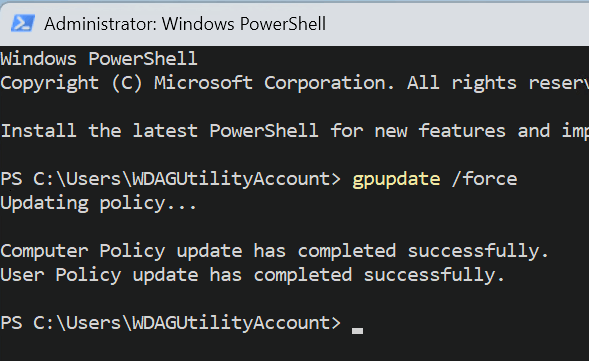
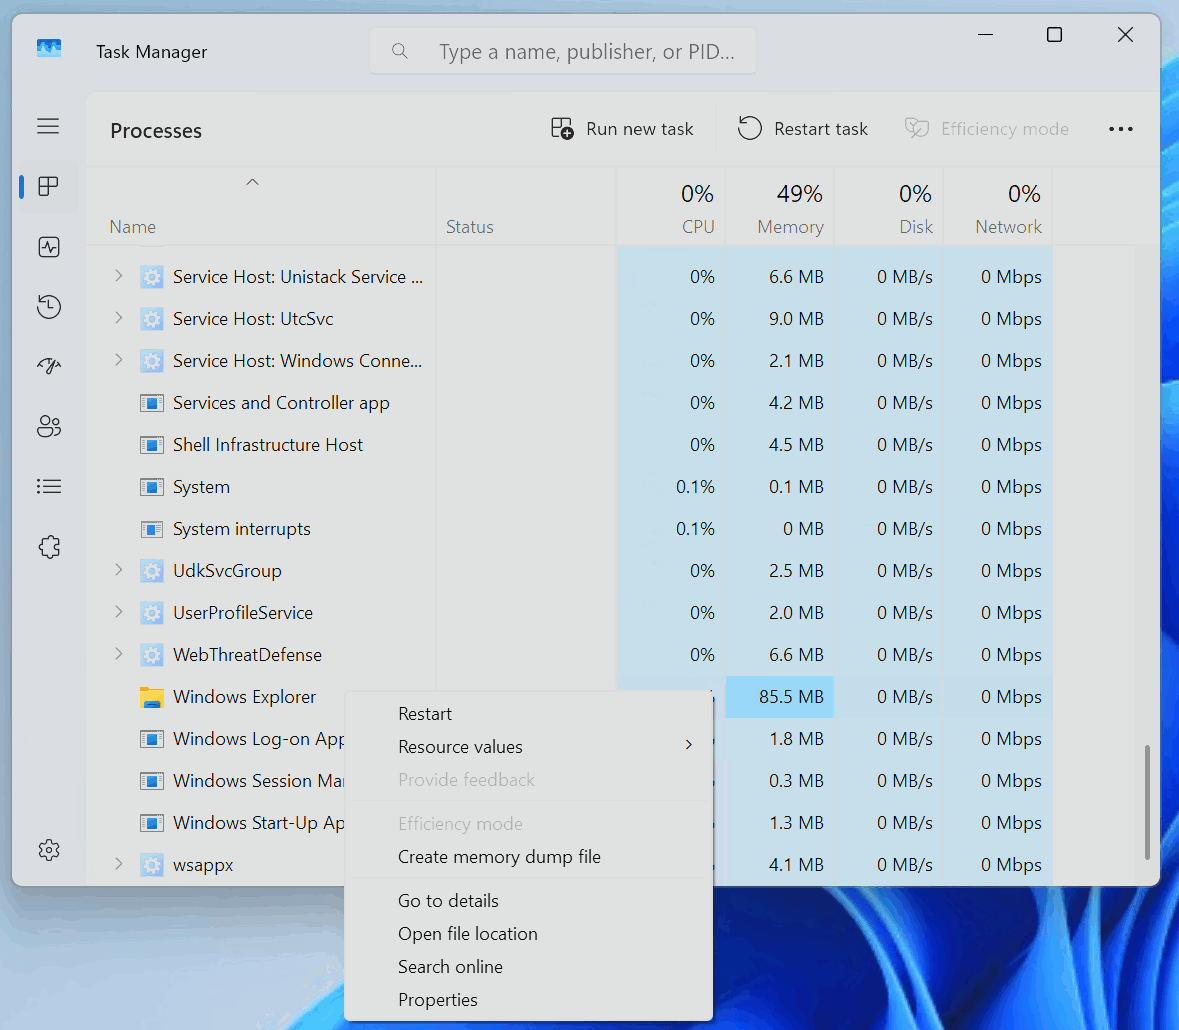
- When the command is completed, open the Taskmanager, scroll down to the Windows Explorer and select Restart.
INFO
Restarting the Windows Explorer service restarts the Taskbar aswell.
Taskbar before: 
Taskbar after: 
Deploy Taskbar XML
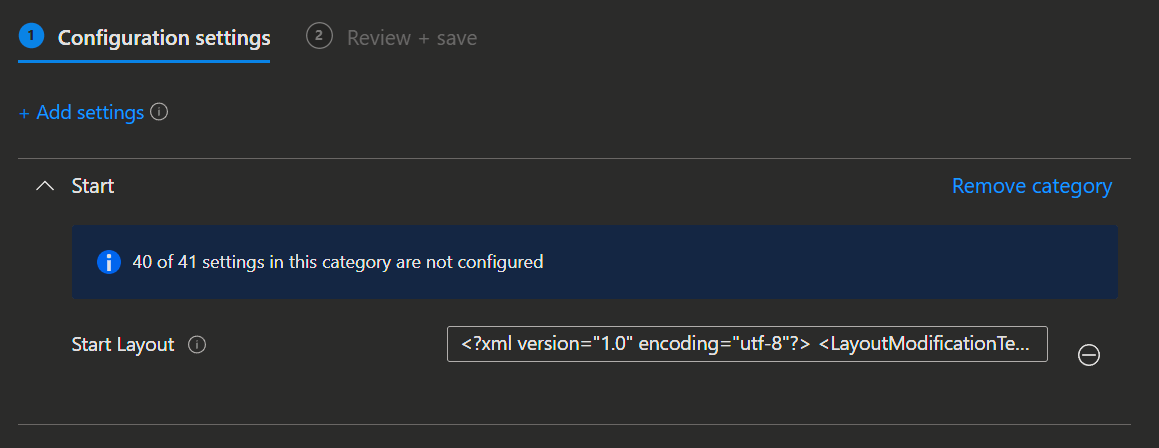
When deploying the Start Menu XML, please note that there is a slight oddity in Intune.
It is not possible to import the file directly; instead, the XML text must be copied and pasted into the text box.
INFO
You can find more Information on how to deploy the XML file with Intune or GPO in this Microsoft Learn Article: Deploy the taskbar configuration
Conclusion
By following the steps above, you can easily test and validate your Taskbar XML configuration in a controlled environment like Windows Sandbox or a virtual machine. This ensures that your customizations work as intended before deploying them to production systems.
NOTE
You can find the XML file I used here.
🧑🔧 Customize the Windows 11 Start layout
You can customise the Windows 11 Start layout to make it consistent and user-friendly by pinning essential apps and organising the Start menu. This section provides guidance on creating the JSON file and deploying it.
Creating the Start Menu Layout JSON
- Microsoft provides a CMDlet to help you create the Start Menu JSON.
- Open a Powershell Windows and use the code below:
Export-StartLayout -Path "C:\temp\LayoutModification.JSON"JSON file example from Microsoft:
{
  "pinnedList": [
      { "desktopAppLink": "%ALLUSERSPROFILE%\\Microsoft\\Windows\\Start Menu\\Programs\\Microsoft Edge.lnk" },
      { "packagedAppId": "windows.immersivecontrolpanel_cw5n1h2txyewy!microsoft.windows.immersivecontrolpanel" },
      { "desktopAppLink": "%APPDATA%\\Microsoft\\Windows\\Start Menu\\Programs\\File Explorer.lnk" },
      { "desktopAppLink": "%APPDATA%\\Microsoft\\Windows\\Start Menu\\Programs\\Windows PowerShell\\Windows PowerShell.lnk" },
      { "packagedAppId": "Microsoft.WindowsTerminal_8wekyb3d8bbwe!App" },
      { "packagedAppId": "Microsoft.Paint_8wekyb3d8bbwe!App" },
      { "packagedAppId": "Microsoft.Windows.Photos_8wekyb3d8bbwe!App" },
      { "packagedAppId": "MicrosoftCorporationII.QuickAssist_8wekyb3d8bbwe!App" },
      { "packagedAppId": "Microsoft.MicrosoftStickyNotes_8wekyb3d8bbwe!App" },
      { "packagedAppId": "Microsoft.SecHealthUI_8wekyb3d8bbwe!SecHealthUI" },
      { "packagedAppId": "Microsoft.OutlookForWindows_8wekyb3d8bbwe!Microsoft.OutlookforWindows"}
  ]
}
IMPORTANT
If you use the JSON file exactly as the CMDlet outputs it, it will function correctly, but Intune will report error 65000. To avoid this, you just need to remove all extra spaces and line breaks.
{"pinnedList":[{"desktopAppLink":"%ALLUSERSPROFILE%\\Microsoft\\Windows\\Start Menu\\Programs\\Microsoft Edge.lnk"},{"packagedAppId":"windows.immersivecontrolpanel_cw5n1h2txyewy!microsoft.windows.immersivecontrolpanel"},{"desktopAppLink":"%APPDATA%\\Microsoft\\Windows\\Start Menu\\Programs\\File Explorer.lnk"},{"desktopAppLink":"%APPDATA%\\Microsoft\\Windows\\Start Menu\\Programs\\Windows PowerShell\\Windows PowerShell.lnk"},{"packagedAppId":"Microsoft.WindowsTerminal_8wekyb3d8bbwe!App"},{"packagedAppId":"Microsoft.Paint_8wekyb3d8bbwe!App"},{"packagedAppId":"Microsoft.Windows.Photos_8wekyb3d8bbwe!App"},{"packagedAppId":"MicrosoftCorporationII.QuickAssist_8wekyb3d8bbwe!App"},{"packagedAppId":"Microsoft.MicrosoftStickyNotes_8wekyb3d8bbwe!App"},{"packagedAppId":"Microsoft.SecHealthUI_8wekyb3d8bbwe!SecHealthUI"},{"packagedAppId":"Microsoft.OutlookForWindows_8wekyb3d8bbwe!Microsoft.OutlookforWindows"}]}INFO
You can find more Information on Start Menu customization in this Microsoft Learn Article: Configure the Start menu.
Layout Modification Options
| Key | Description |
|---|---|
| packagedAppID | Used for Universal Windows Platform (UWP) apps. To pin a UWP app, use the app's AUMID. |
| desktopAppID | Used for desktop apps. To pin a desktop app, use the app's AUMID. If the app doesn't have an AUMID, use the desktopAppLink instead. |
| desktopAppLink | Used for desktop apps that don't have an associated AUMID. To pin this type of app, use the path to the .lnk shortcut that points to the app. |
| secondaryTile | Used for Microsoft Edge pinned sites. |
Additionally, you have the option to add an applyOnce property at the top of your JSON file.
- If you set it to
true, the pinned list will only be applied once. You can change the list later, and your changes won't be erased when you log in again. - If you set it to
false, the pinned list will reapply with every log in and reset all changes.
{
    "applyOnce":false,
    "pinnedList": [
        ...
      ]
}
INFO
Be aware that this property is only supported by Windows 11, version 24H2 with KB5062660. It does not work with earlier versions of Windows 11.
Deploy Menu Layout JSON
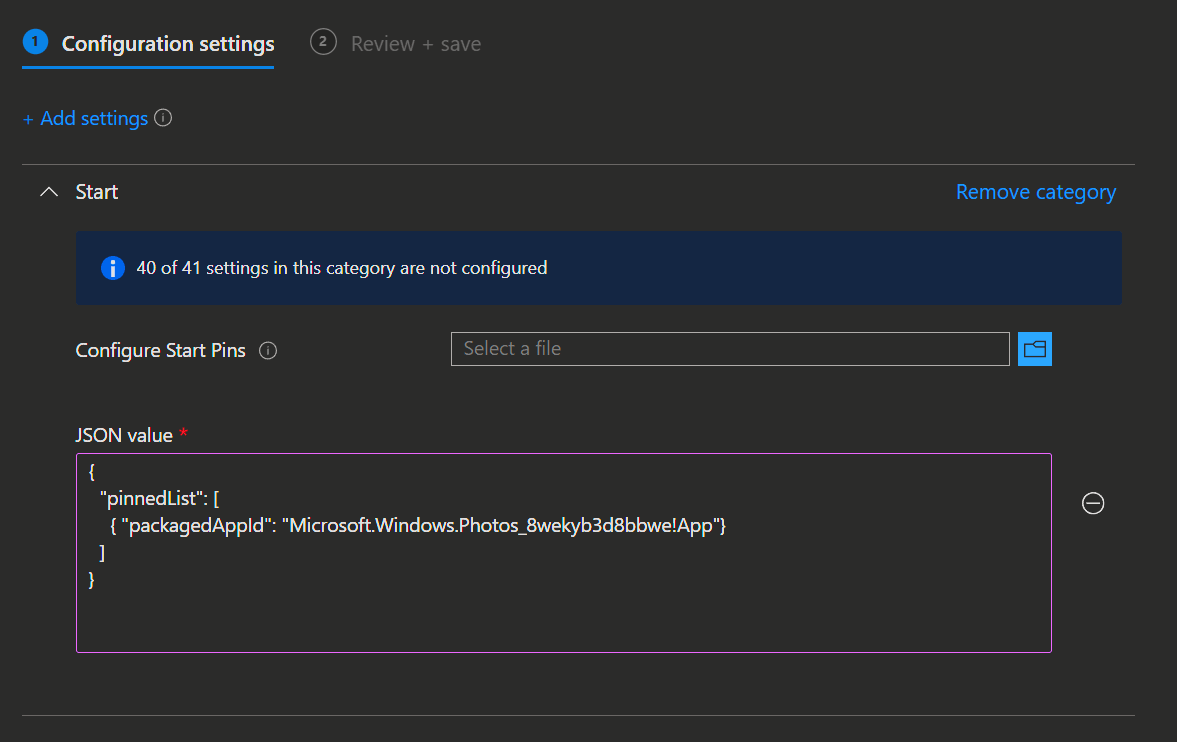
You'll find the setting for deploying the Start Menu Customisation in the Settings Catalog in Intune.
When you're deploying the Start Menu JSON, you can import the file into Intune.
Start Menu before: 
Start Menu after (The user can`t remove the Start Menu items): 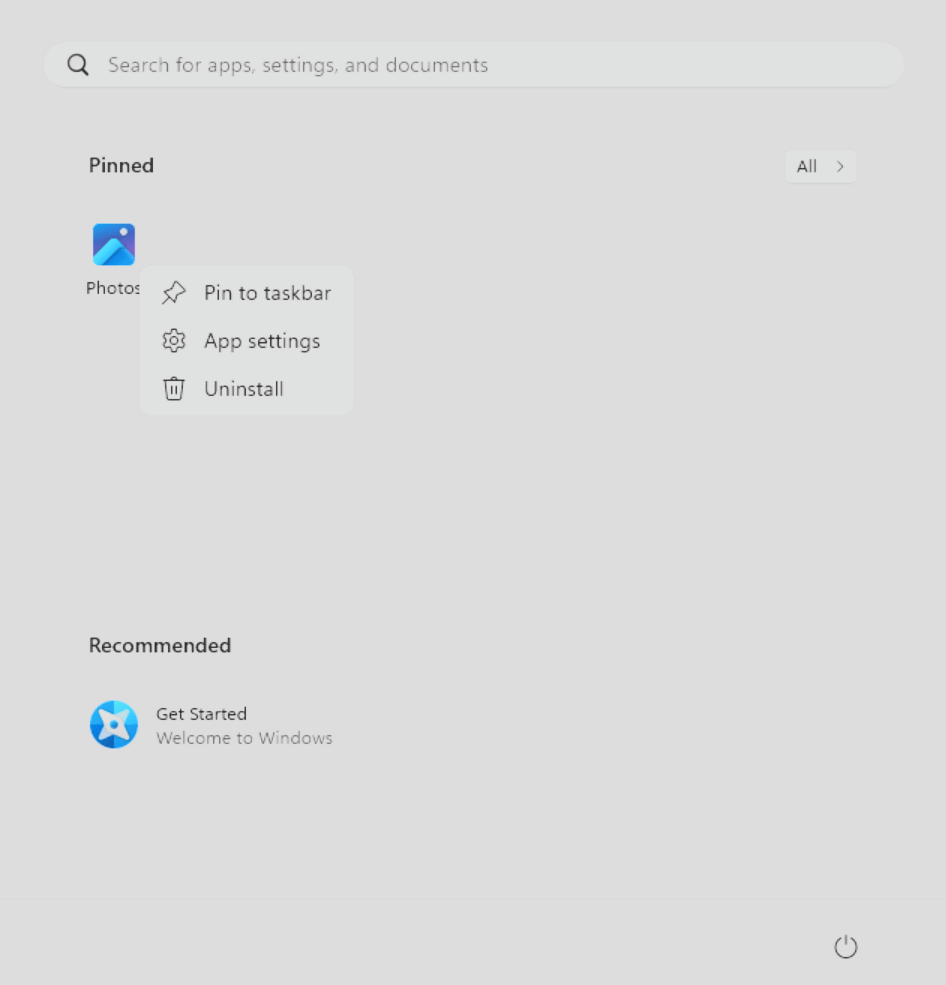
NOTE
You can't create multiple sections or customise the Start Menu in other ways like was possible in the past with the XML variant, unfortunately.
Conclusion
If you follow the steps above, you can easily customise the Start Menu using the JSON file, making sure that users have a consistent experience.
NOTE
You can find the JSON file I used here.