Global Secure Access
Introduction
Microsoft EntraID Global Secure Access is a unified approach to securing access to both public cloud applications (like Microsoft 365) and private company resources. It aims to simplify access management while using zero-trust principles to keep your data and devices safe.
Microsoft Entra Internet Access (Microsoft 365 acess): This secures connections to public cloud services like Microsoft 365 and the internet, protecting users and data from online threats.
Microsoft Entra Private Access: This offers a secure way to reach your company's internal resources, replacing traditional VPNs. It doesn't require complex setups and grants access based on user permissions, enhancing security.
Overall, Global Secure Access aims to streamline access management for admins and provide a safe, zero-trust approach for users to reach all their work resources, regardless of location or device.
WARNING
Be aware that this is a preview feature and not all features are available yet.
Implementation
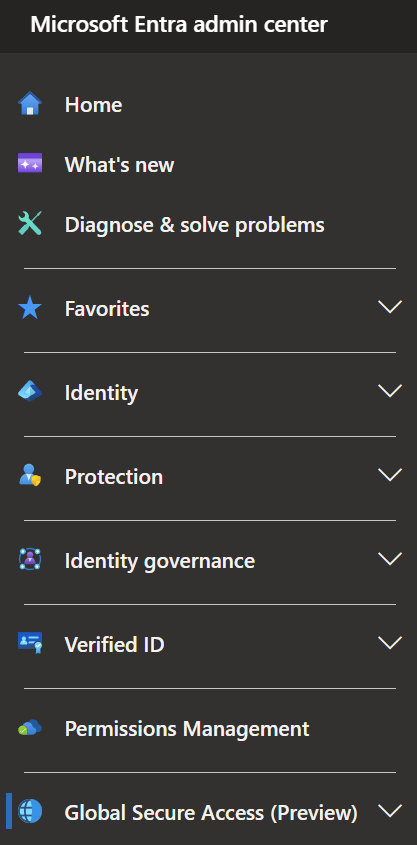
- Open https://entra.microsoft.com
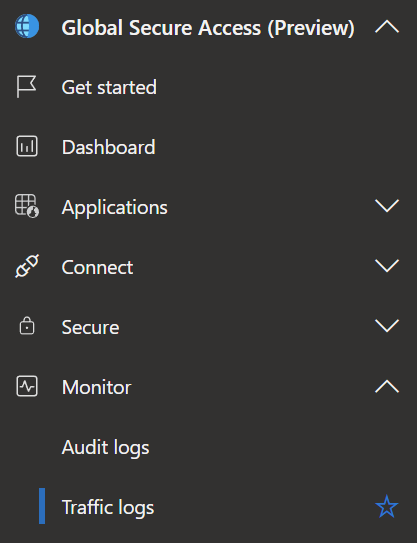
- Navigate to 'Global Secure Access'
- Under 'Connect' you now find 'Traffic forwarding'
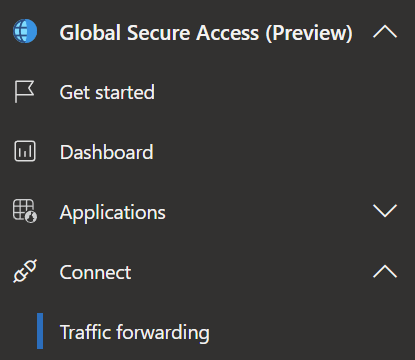
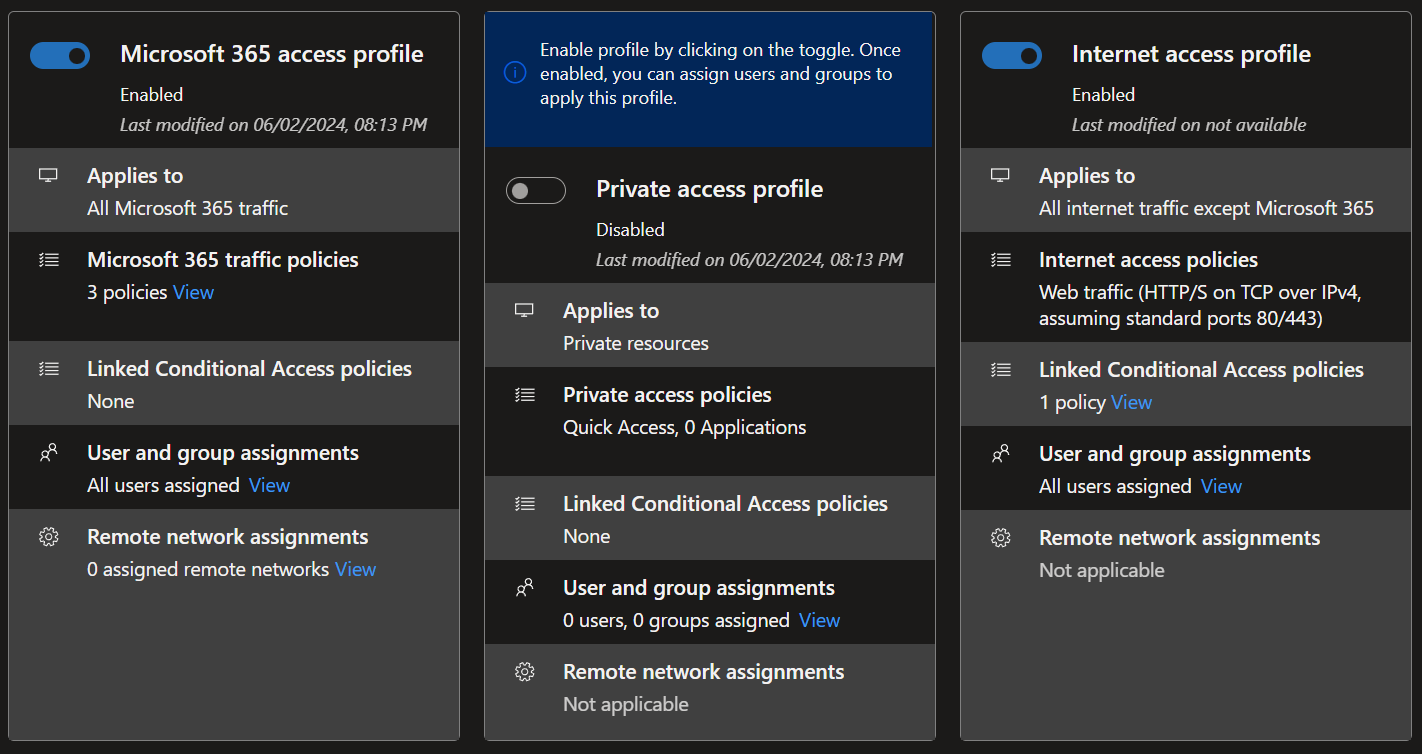
- Here you find the three traffic forwarding profiles, that when activated will send the traffic from your devices via the Microsoft Edge (Azure) to its destination.
- For every profile you have the possibility to determine the users & groups that the profile should apply to and the network in which the policy should be used. That means, your devices don`t need to send traffic trough the microsoft edge if you are already in your company network for example.
INFO
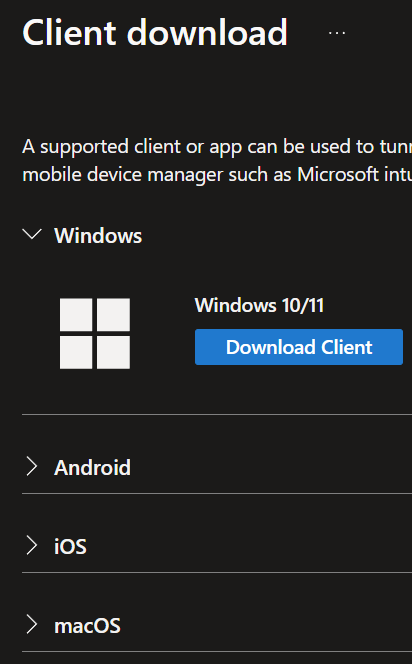
Every traffic forwarding profile uses the same client.
- To facilitate that you need to install a client on every computer.
- The client download is located under 'Connect' -> 'Client download'
INFO
The client doensn`t need any more settings, only a log in.
Microsoft 365 traffic
Activating this profile will send all Microsoft 365 traffic with predetermined policies securely between the device and the Microsoft 365 Service.

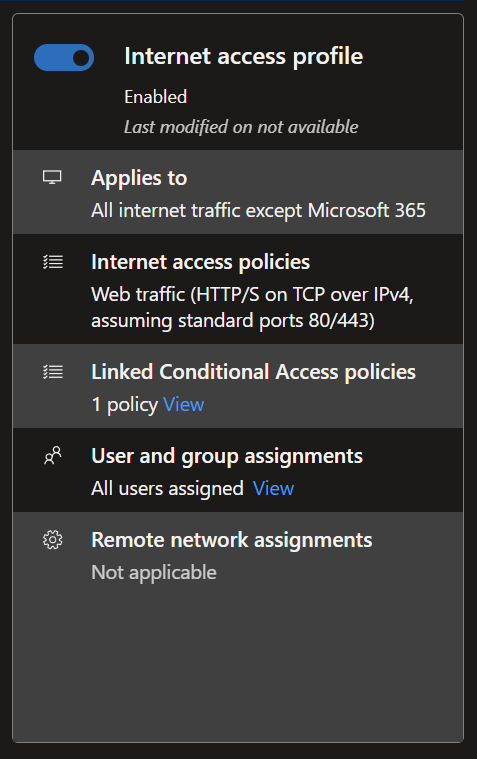
Internet Access
Activating this profile will filter the Web traffic over Ports 80 and 443, sending trough the Mirosoft service.
The traffic flows like this:
Start: User/Device initiates web traffic request.
Step 1: Identity & Device Verification
- Traffic flows to the Microsoft Entra Internet Access service.
- Entra Internet Access checks the user or device against the Entra ID directory.
- This verifies the user's identity and retrieves any relevant access policies.
Step 2: Conditional Access Policy Evaluation
- Based on the user/device information from Step 1, Entra Internet Access evaluates pre-configured Conditional Access policies.
Step 3: Web Content Filtering
- The requested web address is checked against a web filtering list.
- This list can block malicious or inappropriate websites by category or specific domain.
Step 4: Secure Connection
- Entra Internet Access establishes a secure connection to the requested website.
- This helps protect user traffic from eavesdropping or manipulation.
Step 5: Deliver Web Content
- The requested web content is delivered to the user's device.
- Securely and with any necessary access controls enforced.
Configuration
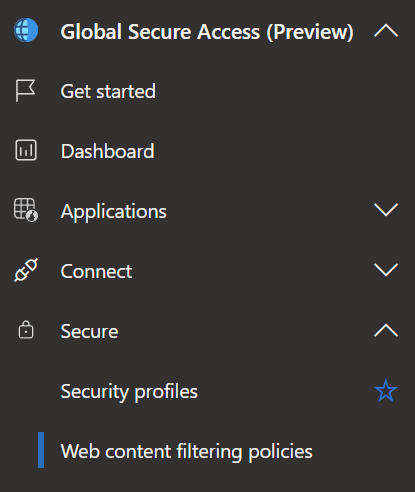
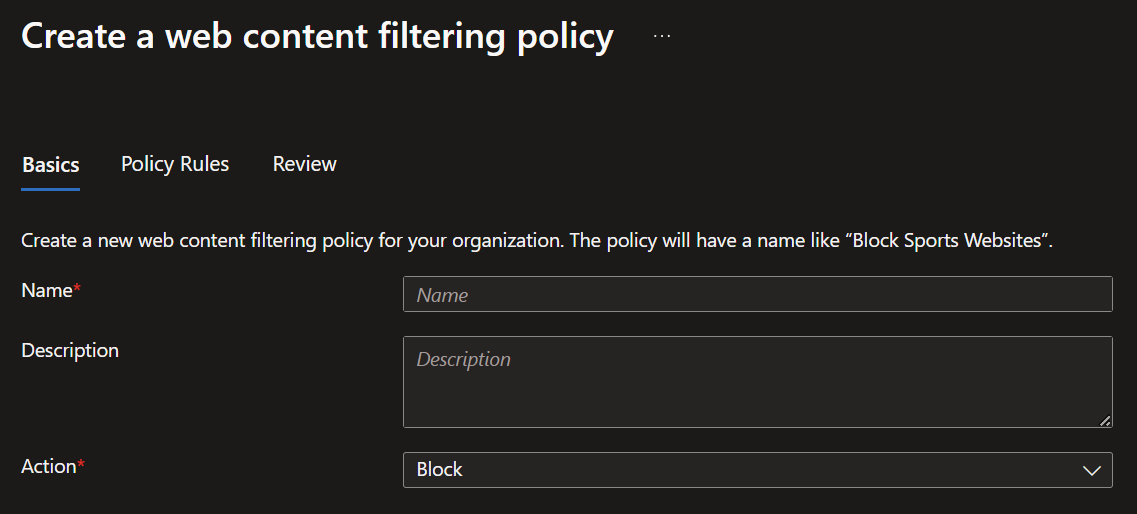
- In the Entra ID dashboard open 'Global Secure Access -> Secure -> Web content filtering policies'.
- Here you can create new web content filtering policies to block or allow websites.
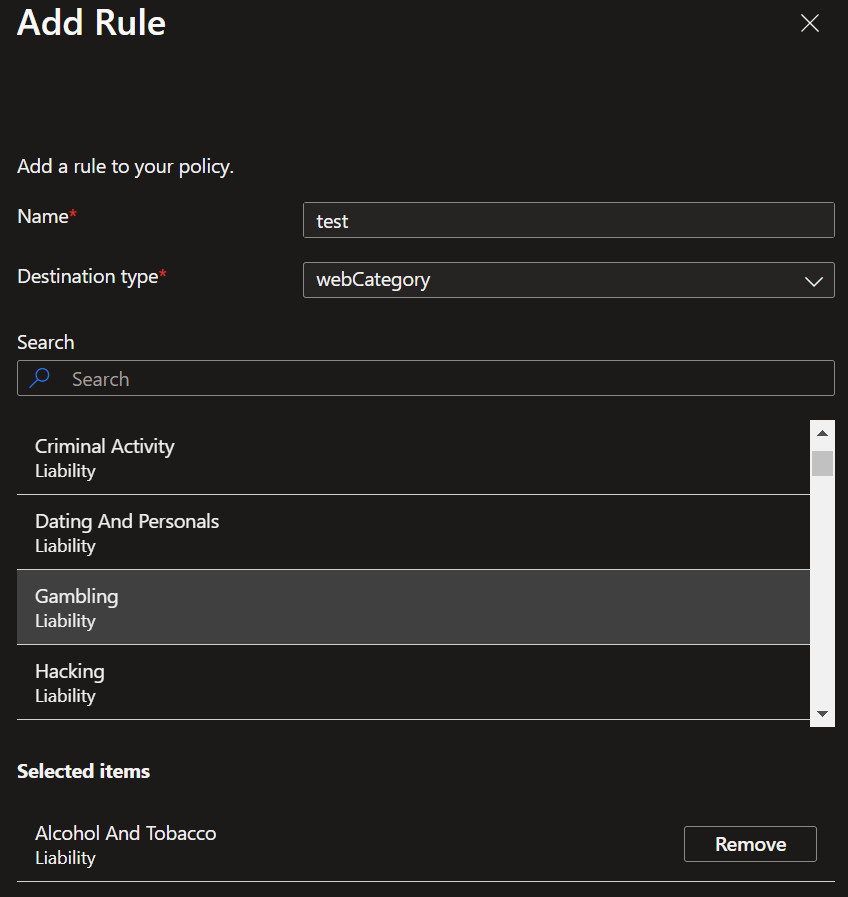
- In the next screen you can now add filter rules for you policy.
- Click 'Add Rule' and choose from pre-build Microsoft webcategories or add a specific FQDN.
- Next you save that rule and that policy and open in the left menu 'Security profiles'.
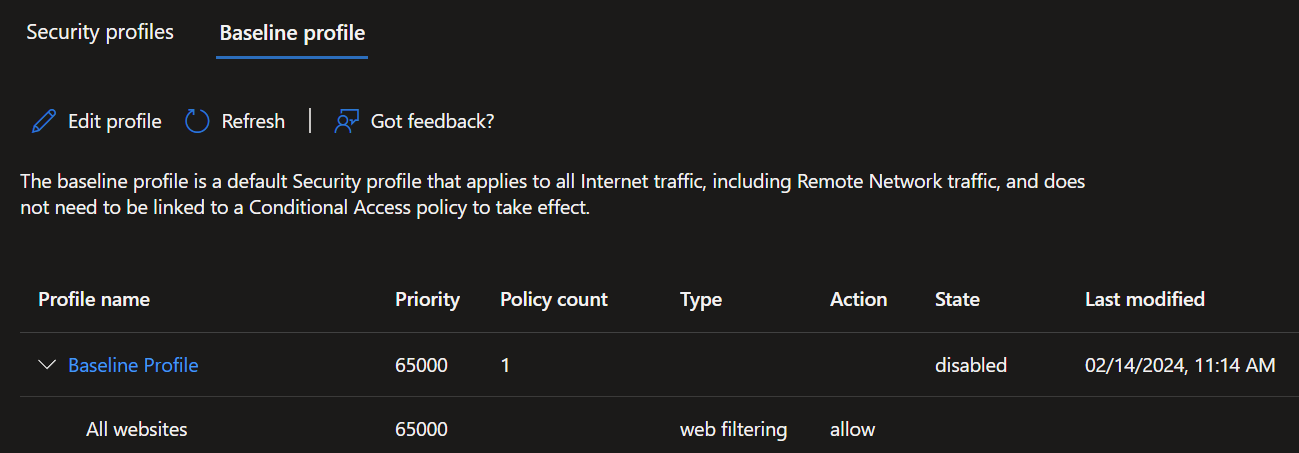
- On this screen you find two tabs. 'Security profiles' and 'Baseline profiles'.
'Baseline profiles' is the standard configuration Microsoft pre-configured and comes from the angle that every site is allowed and you block the categories and individual sites you don`t want accessed. This of course can be reversed, by changing the baseline to block and making 'allow' rules for the things you specifically want to access.
- Under the tab 'Security profiles' you can create the profiles that you can then link to the overarching 'Internet Access' profile.
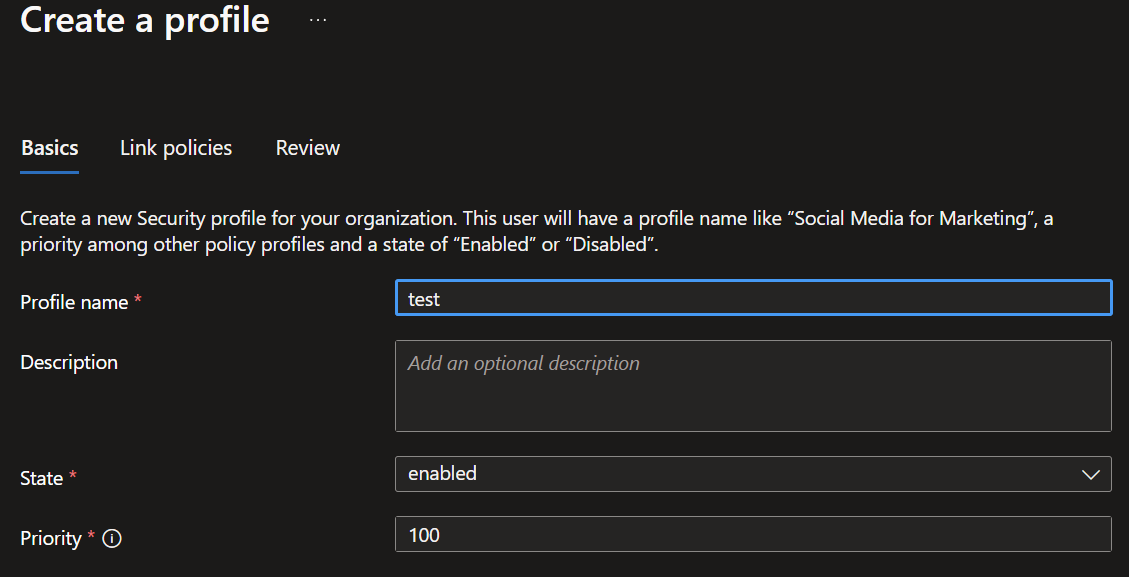
- Click 'Create profile' enter your Name, discription, priority and click 'Next'.
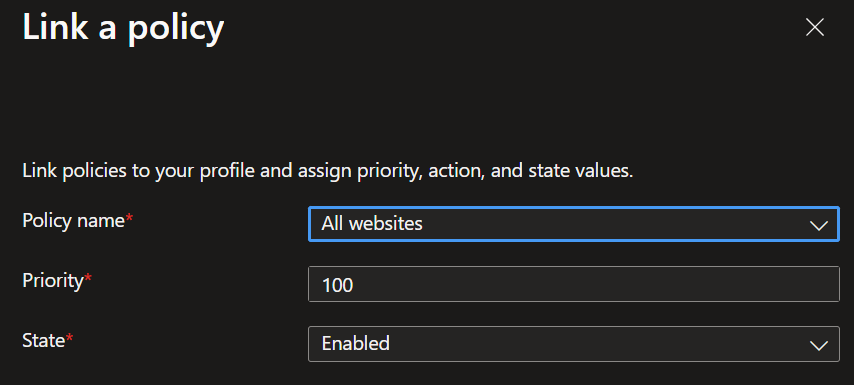
- Now you can link the web content filtering policy we created before or directly create a new one.
INFO
The priorities you are assigning to the profiles and linked policies are important. The lower the priority number, the higher the priority of the rule. In Addition you can`t give a profile or a linked policy the priority 65000. That priority is reserved for the Microsoft baseline.
Details
Policy 1 / Priority 100
Rule 1: Priority 100 / allow LinkendIn
Rule 2: Priority 200 / block social media
Policy 2 / Priority 200
Rule 1: Priority 100 / allow Facebook
Rule 2: Priority 200 / block all Internet sites
This means that all internet sites will be blocked except Linkedin, because the policy / rule with the lower priority number will be evaluated last and wins because of that.
1 . Rule 2 Policy 2 blocks all Internet sites.
2. Then Rule 1 Policy 2 allows Facebook.
3. Next Rule 2 Policy 1 blocks Facebook.
4. And at last Rule 1 Policy 1 allows LinkedIn.
- Now review and create the policy

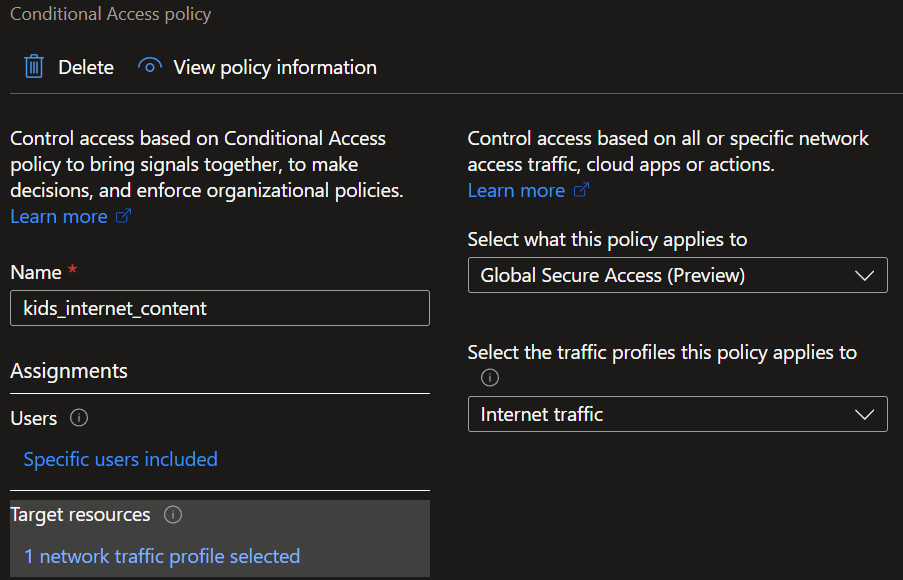
- The Last thing now is to link a conditional access policy to the Internet acces profile under 'Global Secure Access -> Connect -> Traffic forwarding'.
- For that you need a conditional access policy where you have selected the internet traffic as target (see image below) and select your before created 'security profile' as the grant control.
WARNING
Here the conditional access always needs to be 'grant' at the moment.

- Now you can enjoy your newly limited internet experience. 😄
Troubleshooting
When you are having Problems with your 'Global Secure Access' setup there are verious ways of troubleshooting this.
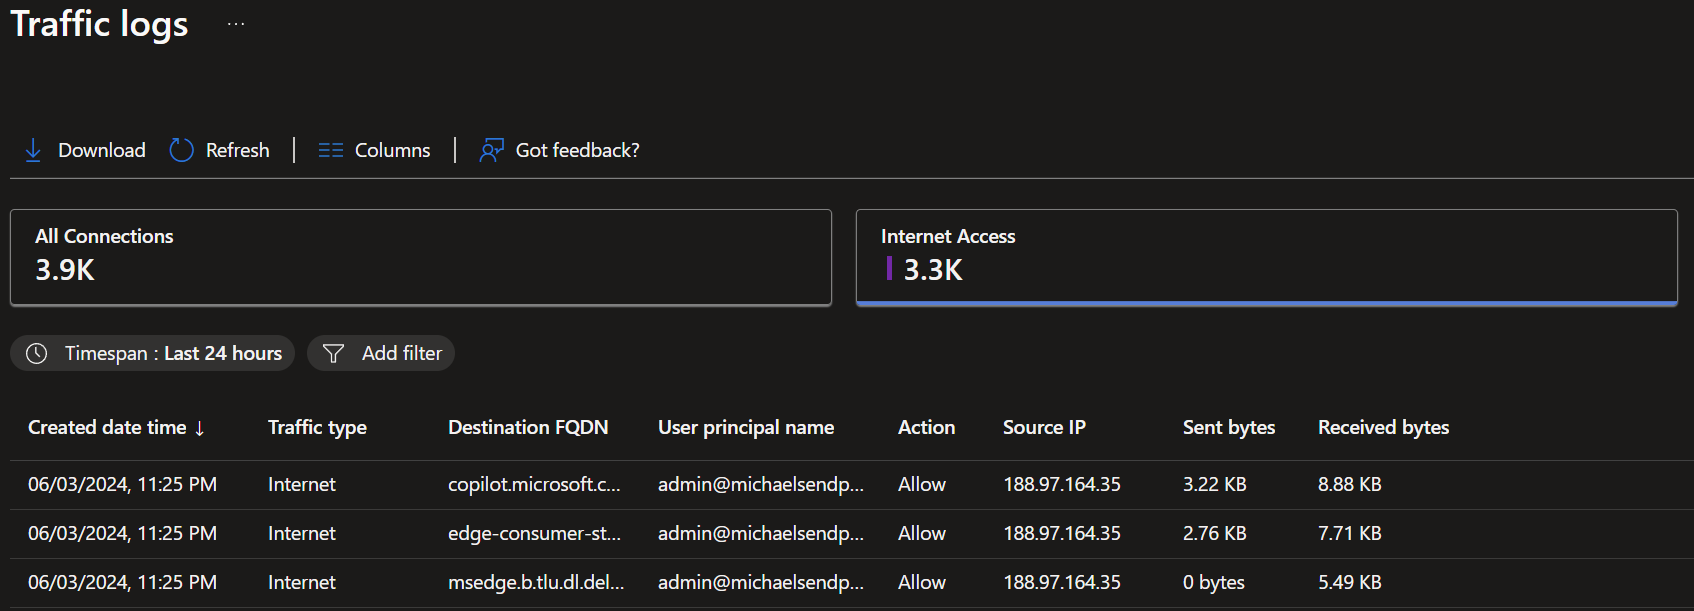
- Firstly you can check in the Entra ID Portal under 'Global Secure Access -> Monitor -> Traffic logs'.
- Here you can see all the traffic that is going through your 'Global Secure Access' setup and determining if the right stuff gets blocked or not.
- If your clients don`t act like they should and the traffic does not get listed in the portal, you can do advanced checks in the client itself.
- For this you need to right click on the agent in the system tray and select 'Advanced diagnostics'. This needs elevated privileges.
- Now you can check if the agent passed all the health checks or check the traffic directly on the client.
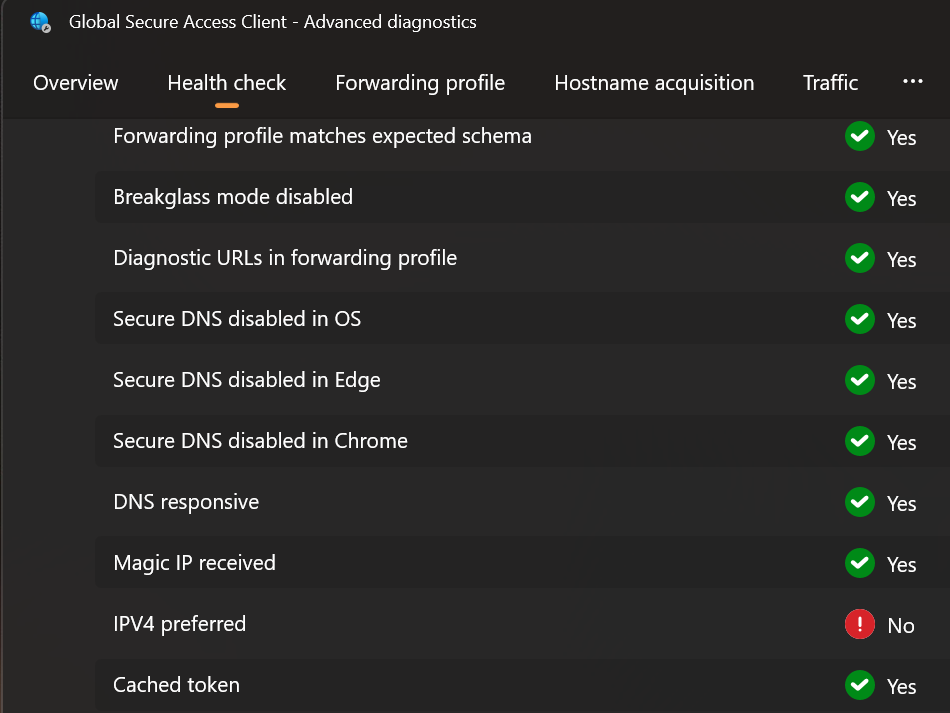
- If, like in the screenshot above, the client didnt pass the 'IPV4 preferred' check, (that can happen if your system / ISP works with IPV6) you can run the following powershell script to remedy this.
function CreateIfNotExists
{
    param($Path)
    if (-NOT (Test-Path $Path))
    {
        New-Item -Path $Path -Force | Out-Null
    }
}

$disableBuiltInDNS = 0x00

# Prefer IPv4 over IPv6 with 0x20, disable  IPv6 with 0xff, revert to default with 0x00.
# This change takes effect after reboot.
$setIpv6Value = 0x20
Set-ItemProperty -Path "HKLM:\SYSTEM\CurrentControlSet\Services\Tcpip6\Parameters" -Name "DisabledComponents" -Type DWord -Value $setIpv6Value

# This section disables browser based secure DNS lookup.
# For the Microsoft Edge browser.
CreateIfNotExists "HKLM:\SOFTWARE\Policies\Microsoft"
CreateIfNotExists "HKLM:\SOFTWARE\Policies\Microsoft\Edge"

Set-ItemProperty -Path "HKLM:\SOFTWARE\Policies\Microsoft\Edge" -Name "DnsOverHttpsMode" -Value "off"

Set-ItemProperty -Path "HKLM:\SOFTWARE\Policies\Microsoft\Edge" -Name "BuiltInDnsClientEnabled" -Type DWord -Value $disableBuiltInDNS

# For the Google Chrome browser.

CreateIfNotExists "HKLM:\SOFTWARE\Policies\Google"
CreateIfNotExists "HKLM:\SOFTWARE\Policies\Google\Chrome"

Set-ItemProperty -Path "HKLM:\SOFTWARE\Policies\Google\Chrome" -Name "DnsOverHttpsMode" -Value "off"

Set-ItemProperty -Path "HKLM:\SOFTWARE\Policies\Google\Chrome" -Name "BuiltInDnsClientEnabled" -Type DWord -Value $disableBuiltInDNS
source: Microsoft Learn